Customer Services
Copyright © 2025 Desertcart Holdings Limited
Desert Online General Trading LLC
Dubai, United Arab Emirates


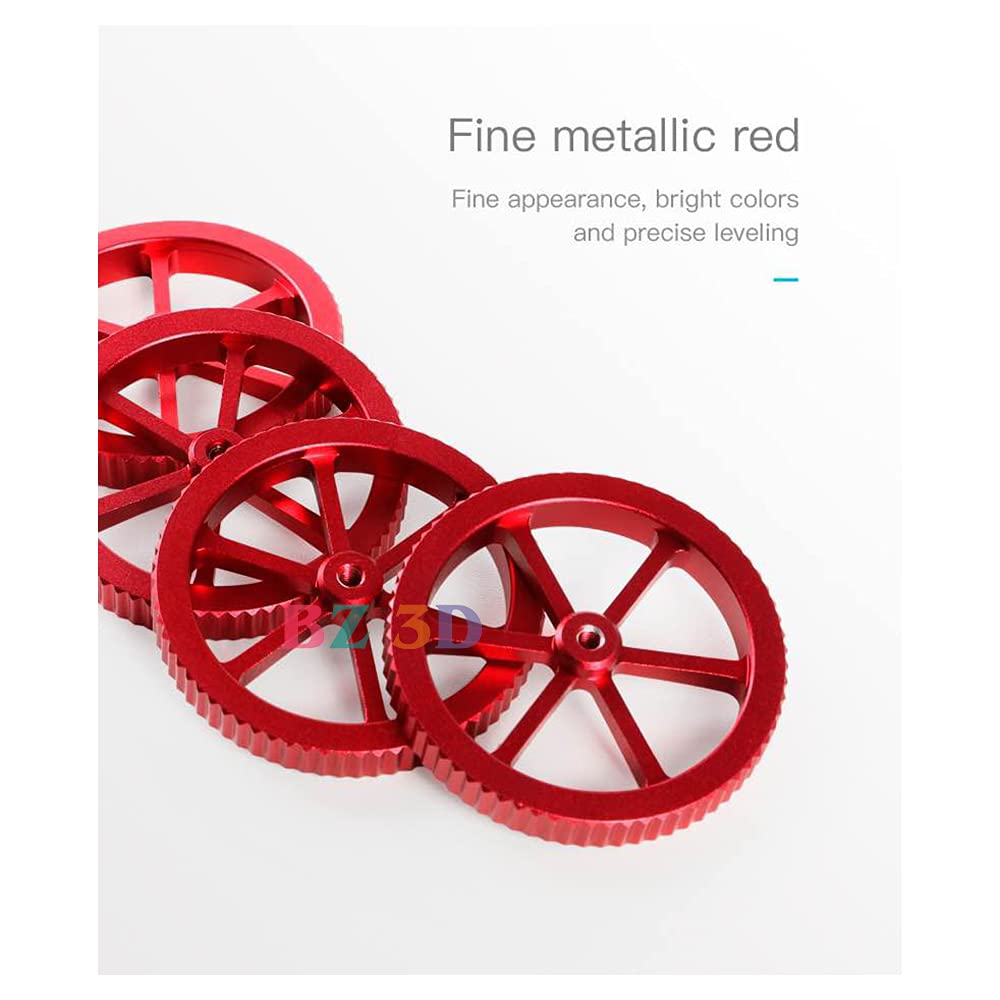
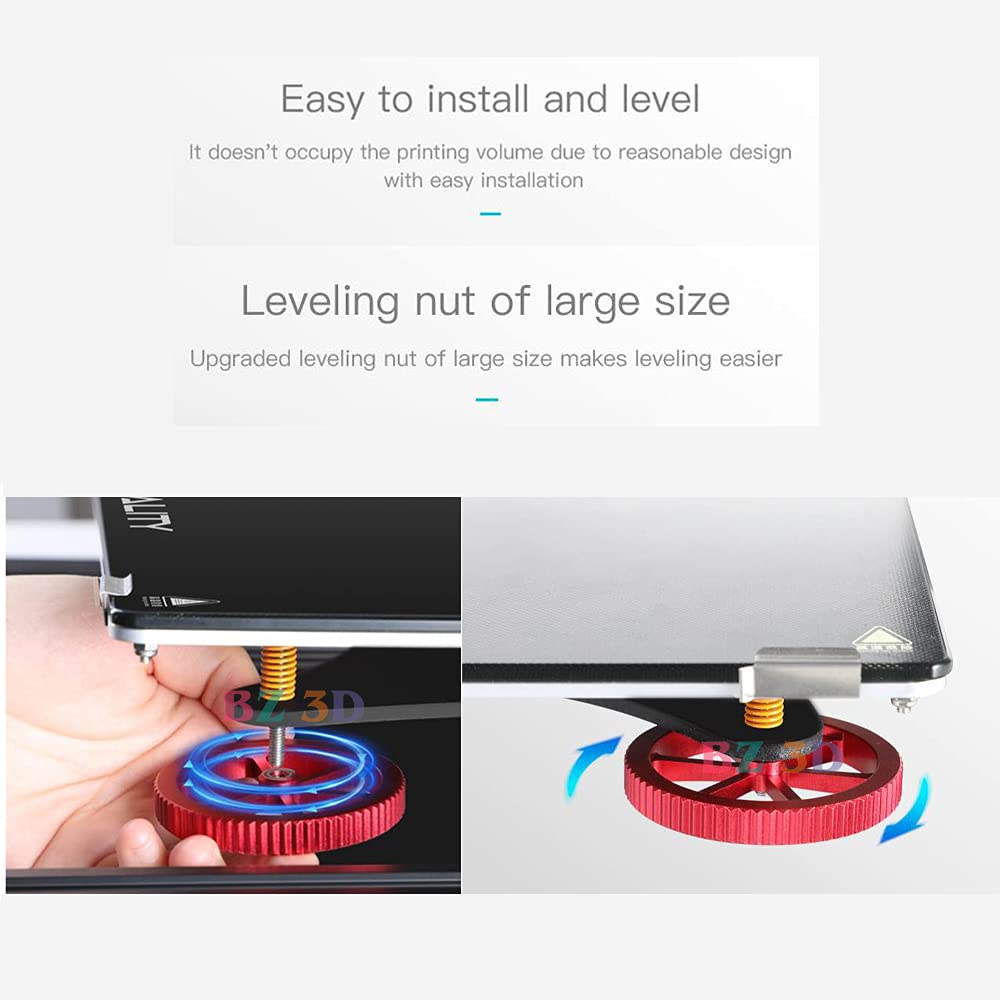
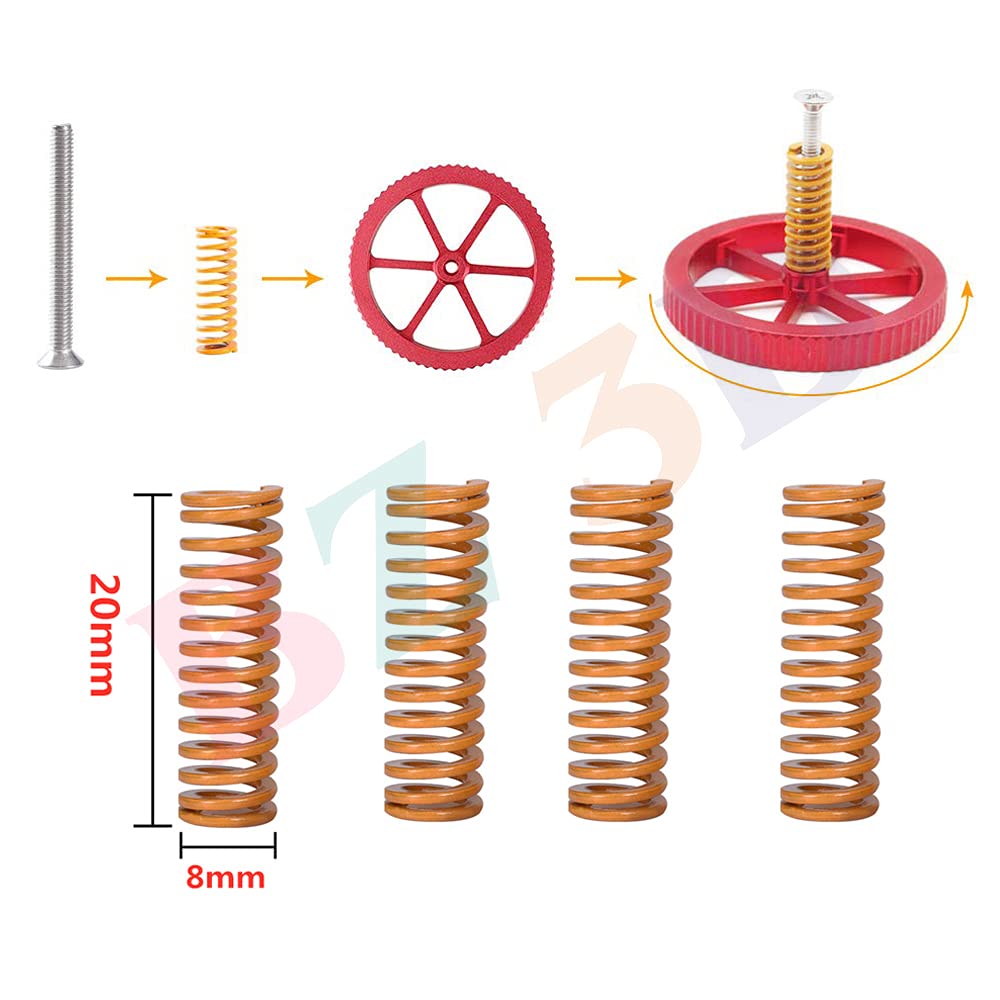
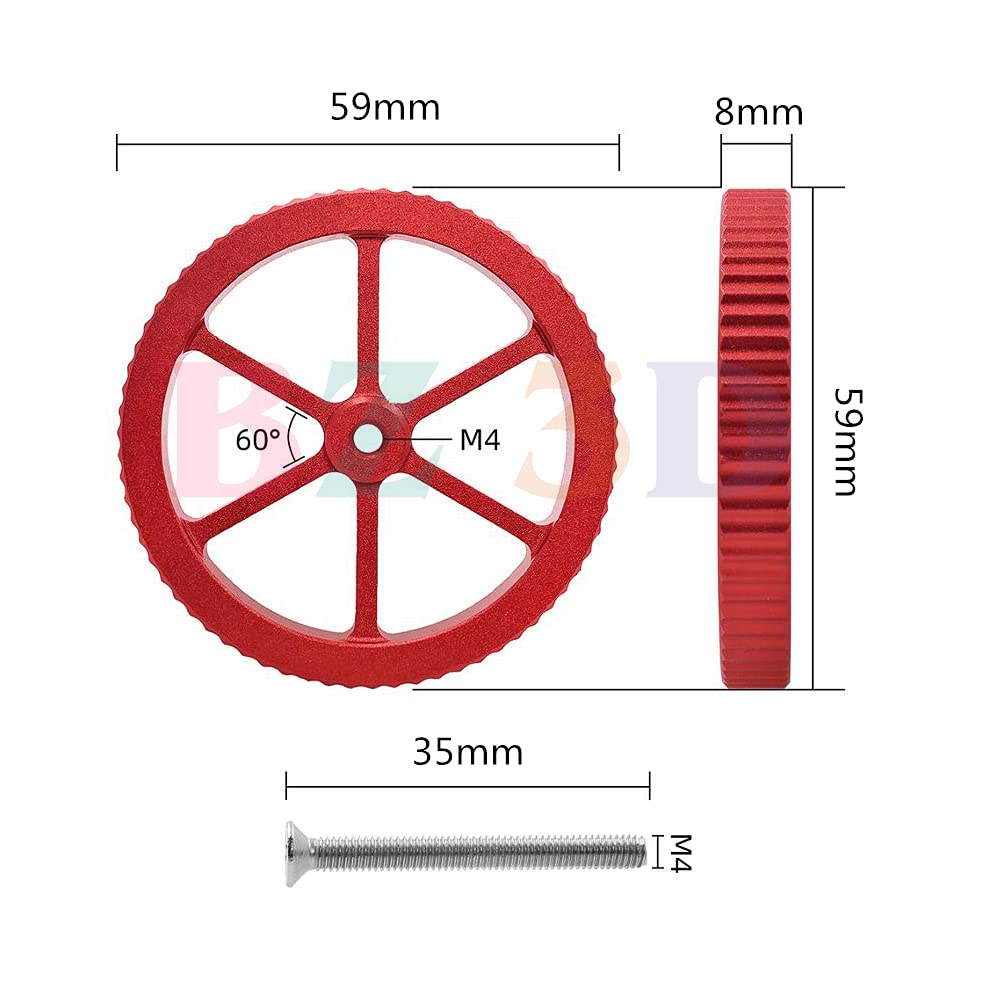
🔧 Upgrade Your Print Game!
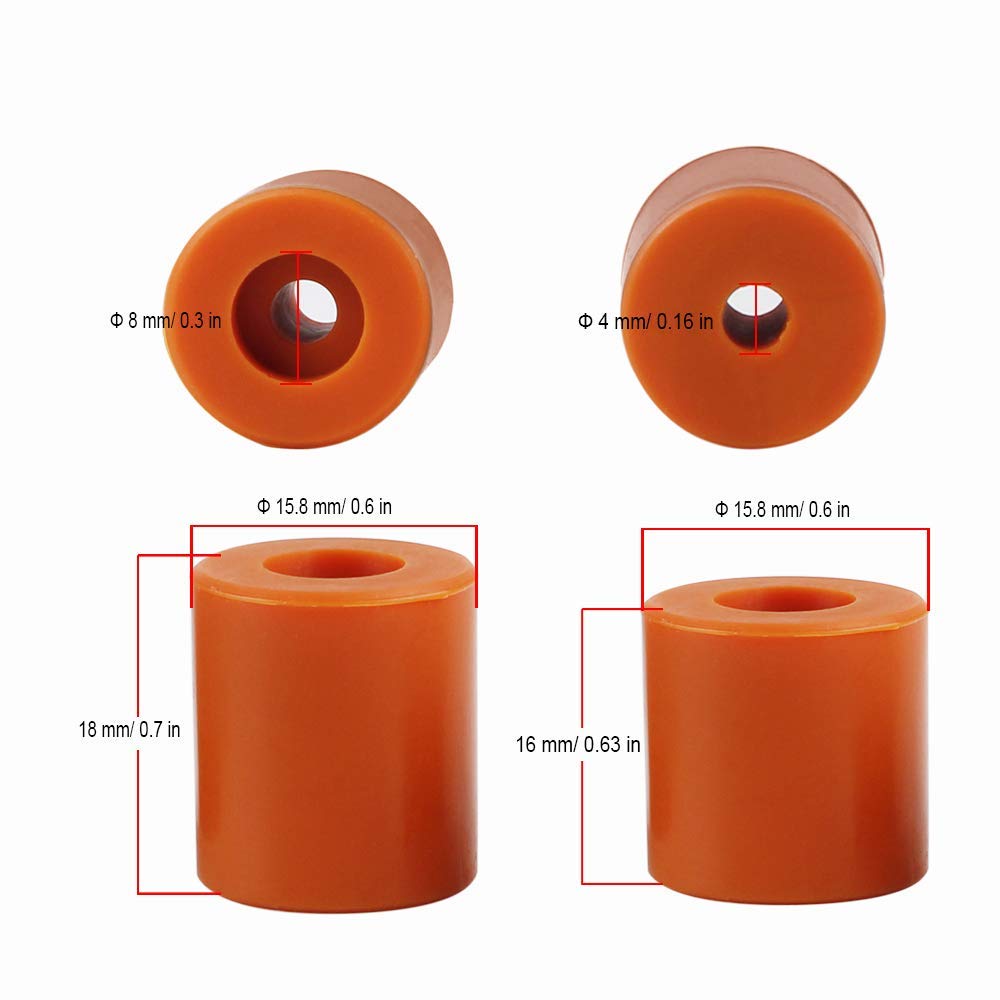
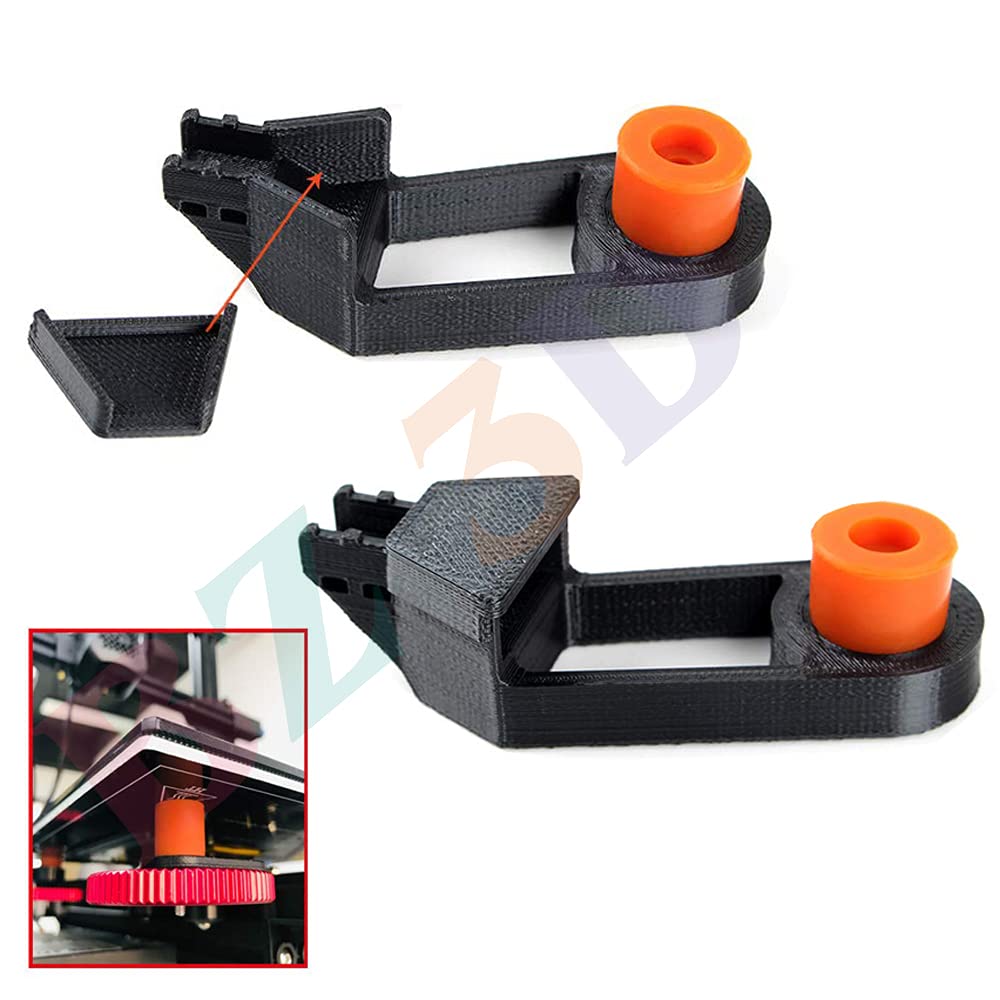
The Ender 3 Springs Upgrade Kit includes 4 high-quality aluminum leveling nuts, 4 durable hot bed springs made from spring steel, and 5 silicone solid bed mounts. This kit is designed to enhance the performance of your Ender 3 series 3D printers, ensuring precision, stability, and longevity. Compatible with multiple Ender 3 models, it promises a seamless upgrade experience.
M**K
A good upgrade for a Creality 3D Printer Bed.
This Bed Leveling Upgrade Kit was a very good buy on sale. Parts fit and worked great on my CrealityEnder-3 S1 printer with no problems. This kit even came with both Springs and Silicone “bumpers” for your upgrading choice! I used the Silicone Bumpers due to they seem to hold the bed adjustment better for a much longer time with little to no readjustments. All parts are included in this upgrade kit plus an added bonus of the metal adjustment Wheel/Knobs look sharp on my Creality Printer in that Red Color!
S**L
Working well so far
Installed with a 60W cartridge on a Ender 3 with a Titan direct drive. Currently printing PETG with great results. No blobs, no stringing, smooth surfaces and strong layer adhesion. PID tuning was done before the first print as was checking/correctly setting the Z offset for ABL after installation.July 9 2023 updateI did run into a heat creep blockage while printing PLA+ in a closed enclosure and a 37c interior temp. I replaced the 4010 hotend fan with a 4020 and have not had a repeat.
G**H
Works great for keeping calibrat dift down. Needs either shorter stoppers or longer screws.
Good upgrade for reducing calibration drift from vibration and i like the open design. The openness allows me to more easily turn the wheels in the back without having to go behind the machine.As for compatibility, the screws provided are the same length as the stock ones on the ender 3 (original) and the rubber stoppers are too big. While they woll fit on there squished the springs dont push on them hard enough to allow the system to functionas you realistically only have one full turn of configuration.Cutting the top 3-4 mm off the top of the stoppers (make sure you get an even cut) allowed mento install them without any issue.
B**Z
As expected
Microswiss extruder with this hot end is goals
J**B
Getting ridiculous
I got my package in last week, as I was trying to install the new springs on north my hot bed I noticed one of the screws had zero thread (attached photo), so I sent in for an exchange. The exchanged package got here on Thursday 7/28 today 7/31 I again try to install my new springs and wheels to my printer and low and behold I get 3 25MM hot bed springs and 5 20MM hot bed springs (see attached photos)! So now I’m just done with this shop and have to wait even longer before I can get back to printing! This shop really has awful quality control and or just don’t care what they are sending out to paying customers.
K**N
Great Upgrade
My Microswiss hot end leaked filament out the top of the heater block and the set screw stripped so I couldn't disassemble it. I got this hotend since it was half the price of a new microswiss hotend and it's been working great with the microswiss direct drive.
M**N
I rarely have to level my bed now.
I've gone for 2 weeks without needing to relevel.Probably could have gone longer if I wasn't so aggressive when removing my prints (bed adhesion is a bit TOO good)
J**S
good hotend with some mods
I've bought a similar one that has been an absolute workhorse but it doesn't seem to be for sale anymore so I bought these. 2 issues I've had:1. no matter how short your retraction, you will get filament dragging because it's SO tight. I suggest getting a 3/32 drillbit and drill ALL THE WAY THROUGH. This will give the filament some space.2. The screws holding the heat block to the heatsink suck. I don't know why they would choose phillips but they do not torque down enough. Go get some hex drive flathead screws:https://www.amazon.com/M3-0-50-20mm-Stainless-Countersunk-MonsterBolts/dp/B078YWY59K/ref=sr_1_11?crid=1GDHA6JDBVESW&keywords=m3%2Bx%2B20%2Bflathead&qid=1682140697&s=industrial&sprefix=m3%2Bx%2B20%2Bflathea%2Cindustrial%2C127&sr=1-11&th=1If you don't, get ready for your heatblock to start oozing filament everywhere after about 30 minutes.
Trustpilot
2 weeks ago
2 months ago
2 weeks ago
2 weeks ago