We remain fully operational. Our teams are working around the clock to ensure your deliveries continue safely.

DOWNLOAD THE APP


Customer Services
Copyright © 2025 Desertcart Holdings Limited
DOWNLOAD THE APP

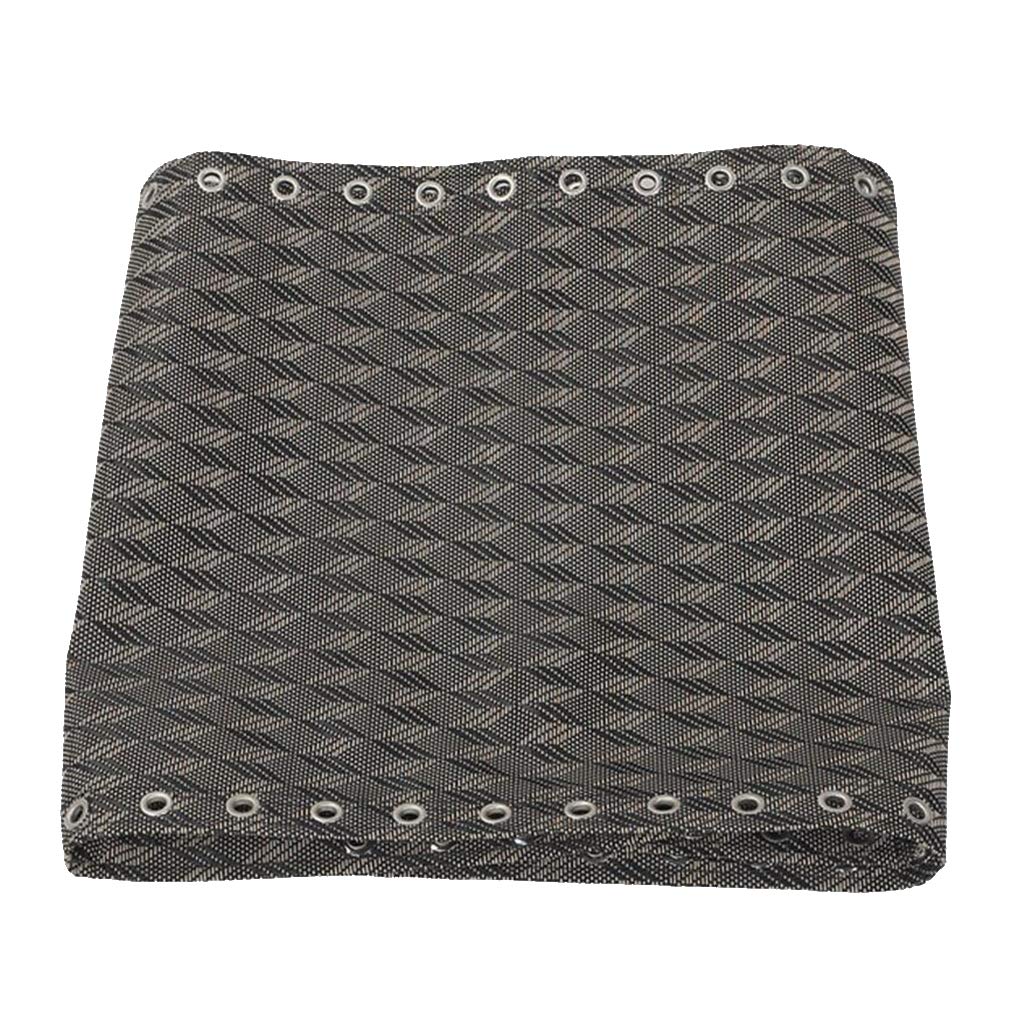

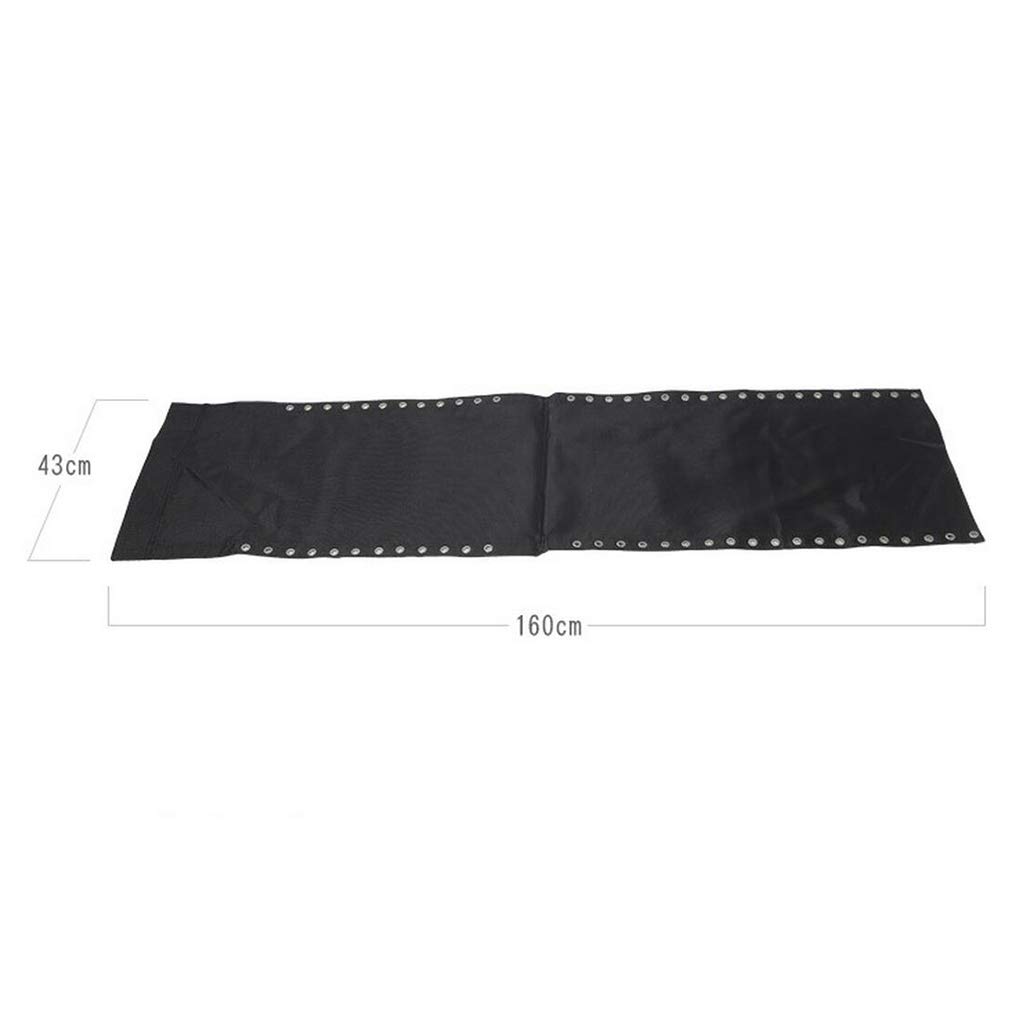
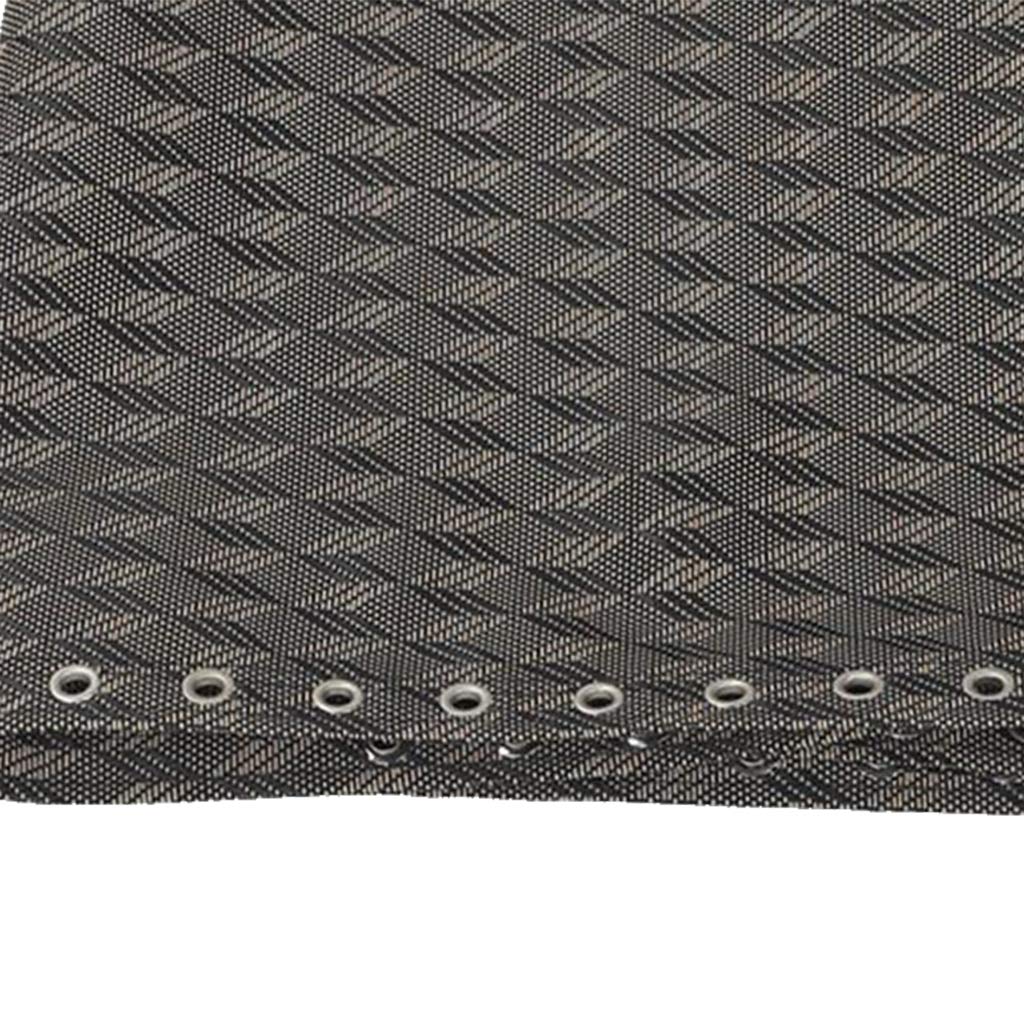
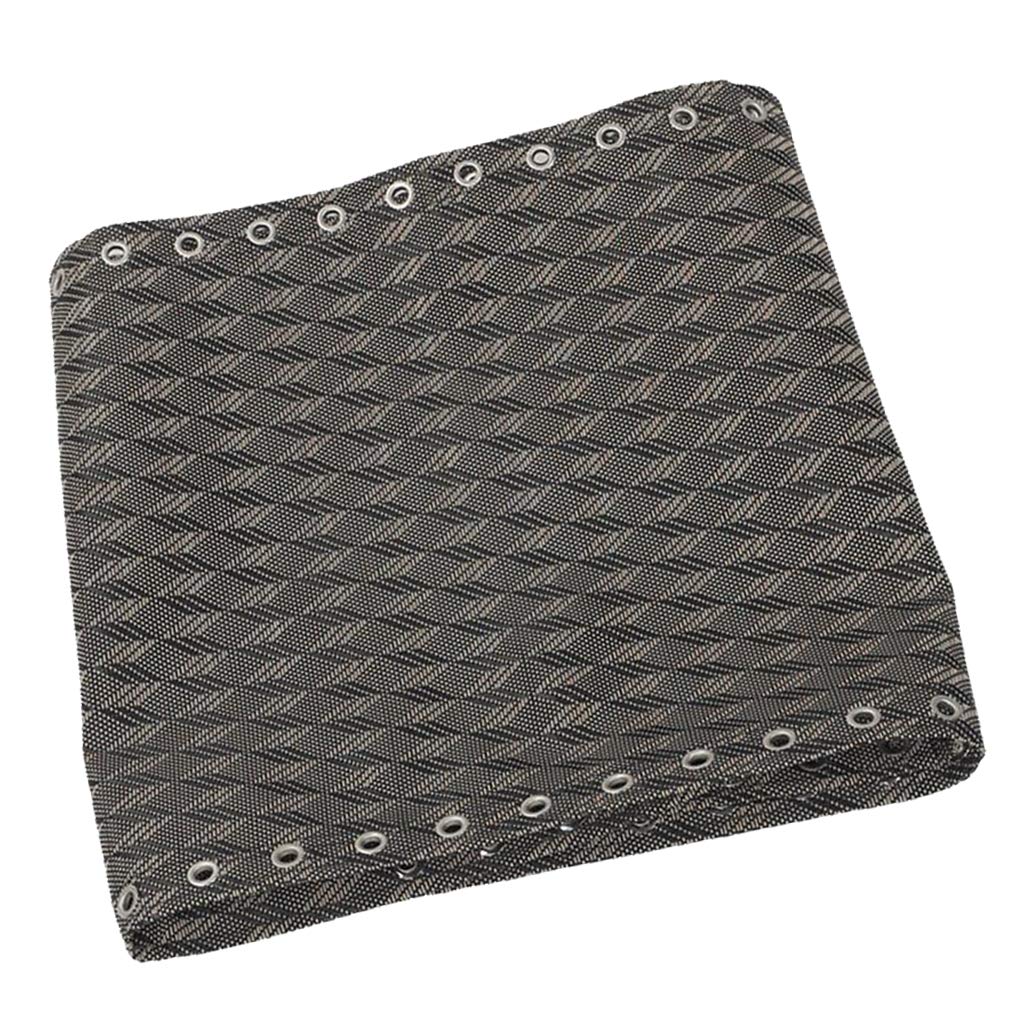
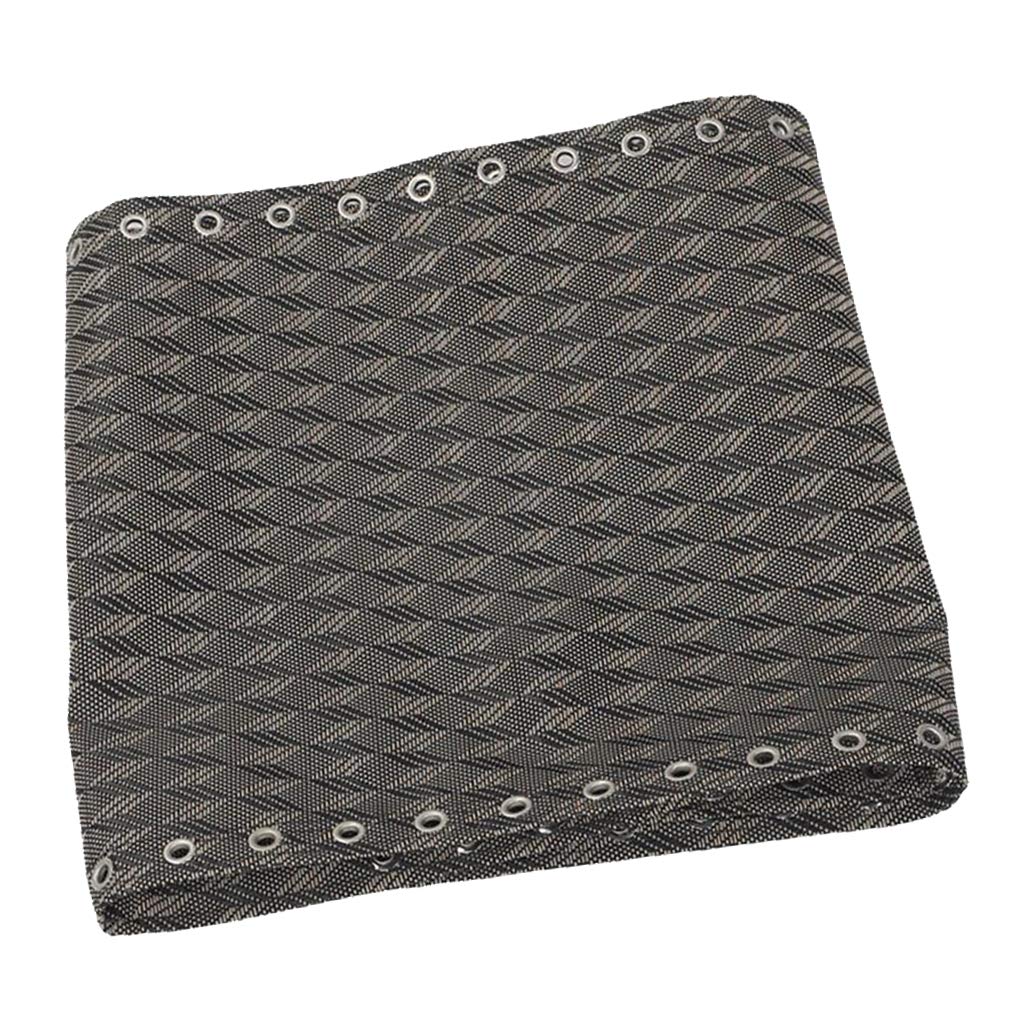
Full description not available


K**Y
Nice fabric
I liked it because it is cooler fabric then the old one that on there! Love the color!
N**S
Somewhat smaller (narrower) than original cover
Somewhat smaller (narrower) than original cover, but son made it fit. Seems sturdy, works well.
A**R
did take a while to get but worth it
was a little short but no big deal. Water resistant
E**G
Grommets TEAR OUT!
Easy to install, looks great, but as soon as I relaxed on the chair the grommets began to dislodge from the material. I weigh less than 200 lbs and the chair had not yet been exposed to outdoor weather. Waste of time to install this poor quality construction.
S**A
How to drill out pop/structure rivets. YouTube is your friend.
So far, the fabric seems to be of a tough, well-made quality. Double stitching, gone over probably 3 times each with upholstery thread.I had to learn how to drill out a couple rivers and replace them with a comparable post and screw in the zero gravity chair frame. Once that was done, replacement went easy. The metal holes in the material didn’t perfectly line up with my chair frame loop holes, but the bungee I bought to go with it had enough give to make it work well.
T**R
Some MacGyvering required
Docked one star for the long ship time and another for not solving the issue of getting the fabric on the top of the frame. Overall, it's debatable whether getting this fabric and new bungies and getting it all on the frame is worth it vs. just getting a new chair, especially if, like mine, your chair was a $50 cheapie in the first place. If it was a $15-20 kit w/ bungies, in stock, with the top frame issue solved, it would make more sense.The "cleanest" options for getting the fabric on the frame are full disassembly (pop the chair rivets, slide the fabric on the frame, put in new rivets or other fasteners) or ripping the top seams on the fabric and adding grommets. Both add more parts (depending what you have lying around), more time, and make the whole thing more of a project, which might be a pro or con depending on your outlook.You can see in the pic, I went with duct tape and spare parts, possibly to be replaced with grommets down the line. I reinforced the corners with black duct tape, stabbed holes with an X-acto knife, and used the least-rotten of the old bungies to tie the corners down to the top grommets. The manufacturer could have made this easier any number of ways, but more grommets would probably be the simplest and most cost-effective.
T**A
Lifesaver
I used it to improvise a little with my patio swing because I only had the tubes (my cat ripped the fabric for the seat and back) and it's a great substitute for it, worked very well!!! Plus I didn't had to buy a replacement to disarm the whole structure of the swing.
A**A
How to insert the top of the fabric.
I like the replacement. I did not use the top holes on my chairs. It was hard to figure out how to insert the top of the fabric. What I did was to cut in the middle of the iron rod in order to insert the fabric. Once inserted all of it to one side, I used a piece of 3/4" pvc ( long enough cover both sides of the separate cut iron rod), making a cut along the edges to make sort of a clamp, using pliers to insert, so the edges do keep together. Then, move the fabric covering the top of the rod. I was happy with the result. My chairs look like new.
Trustpilot
1 month ago
3 weeks ago
2 weeks ago
1 month ago