


💡 Elevate Your Space with Smart Control!
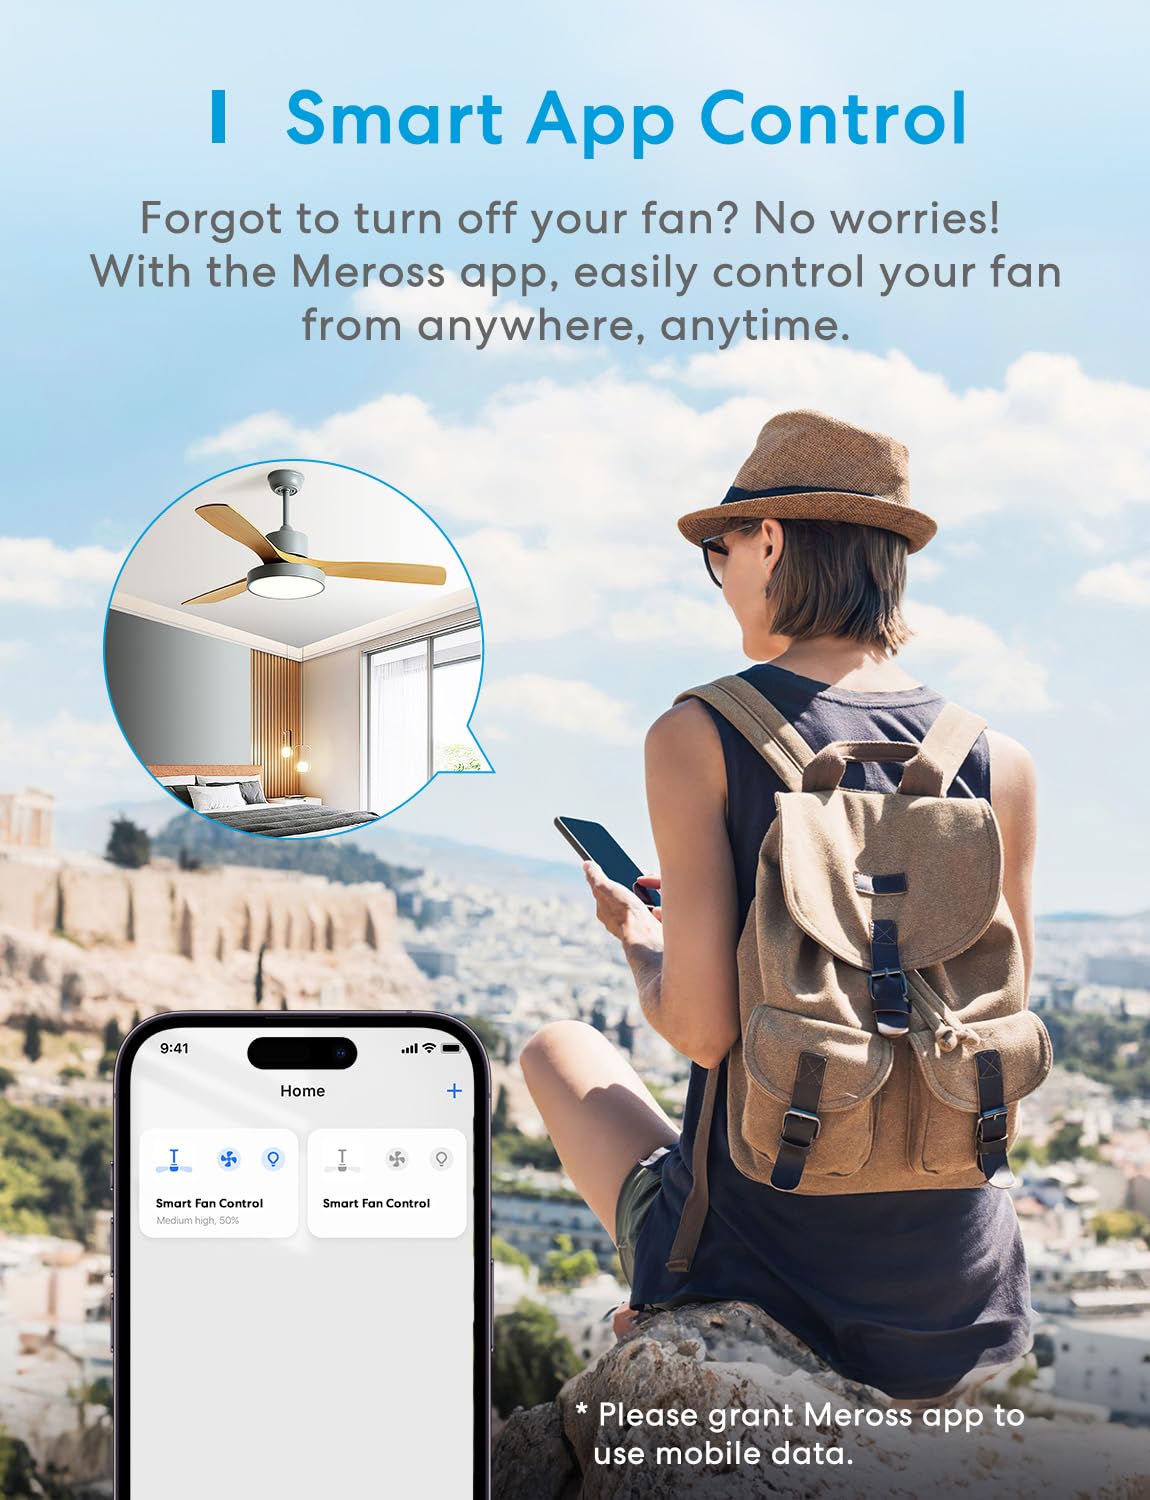
The meross Smart Ceiling Fan Control and Dimmer Light Switch is a versatile smart home device that allows you to control your ceiling fan and lights seamlessly through voice commands or an app. With features like dimming capabilities, scheduling, and energy-efficient design, it’s perfect for modern living. Compatible with major smart home systems, this switch is a must-have for tech-savvy homeowners.
| Operation Mode | ON-OFF |
| Current Rating | 1.5 Amps |
| Operating Voltage | 120 Volts |
| Contact Type | Normally Open |
| Connector Type | Clamp |
| Brand | meross |
| Terminal | Screw |
| Item Dimensions LxWxH | 2.79 x 1.49 x 4.68 inches |
| Circuit Type | 1-way |
| Contact Material | Copper |
| International Protection Rating | IP20 |
| Number of Positions | 1 |
| Lower Temperature Rating | 32 Degrees Fahrenheit |
| Upper Temperature Rating | 104 Degrees Fahrenheit |
| Controller Type | Apple HomeKit, Amazon Alexa, Google Home |
| Control Method | App, Remote, Touch, Voice |
| Connectivity Protocol | IEEE 802.11 b/g/n, 2.4GHz, 1T1R |
| Color | White |
| Wattage | 120 watts |
| Unit Count | 1.0 Count |
| Number of Items | 1 |
| Manufacturer | meross |
| Part Number | MFC100 |
| Item Weight | 3.6 ounces |
| Product Dimensions | 2.79 x 1.49 x 4.68 inches |
| Country of Origin | China |
| Item model number | MFC100 |
| Size | Smart Ceiling Fan Control 1pack |
| Style | Smart switch |
| Voltage | 120 Volts |
| Item Package Quantity | 1 |
| Included Components | Smart Fan Control, Faceplate, User Manual, Screws, Wiring Nuts, Wire Stickers |
| Batteries Included? | No |
| Batteries Required? | No |
M**T
SmartHome Control for Light and Fan that works!
Purchased this switch to add my home office ceiling fan and light to HomeKit. I have a fairly substantial HomeKit environment but none of my fans are included and I wanted to try to get it added if possible.I've had good luck with Meross products in the past (have several already) and felt this would be a good option given that value and the price.Install: Install was easy, I already had a single-gang switch to separately control the fan/light before. It's worth noting, if your fan is on a switch that is on/off and the fan then has to be controlled by a remote, this won't work. That's noted on the product details in the description but wanted to make note of it. It's the single reason why I won't be adding this to the rest of my fans, they are all controlled that way unfortunately. Moving on, the only difference in the install from this one and my previous was the need for a neutral wire. My house had that in back of the electrical box and I removed the wire nut and added it in to the bundle and it was fine. I tried to show the size difference in the one I had before and this one. It's not the deepest smart switch I have, but not the most shallow either. That's the only challenge I have with all smart switches, the depth, as the electrical boxes in my house aren't that deep, so the most difficult part of the install was putting all the wiring back in the box and getting the switch pushed all the way in. It still has a tiny gap that I'll have to work on in the future.Adding to HomeKit: This supports more than HK but that's what I got it for so that is what I'll mention. It added to HK very easily, but I did need to use the code rather than the QR code. It added easily and allowed me to select if I wanted it to be separate in HK or together on my favorites page (just like other multi-devices in HK). Uneventful add, just like I like with HK, as some can be very temperamental (make sure you're on a 2.4Ghz network).Functionality: This is where I would have some suggestions. The switch has a small button for each of the fan and the light along with a "master switch" that controls both at the same time (handy for easy "all-off" when leaving the room).First: the fan is on the top button, I wish the light was on the top button, this is a minimal gripe and something I've already gotten used to after a couple weeks of use, but still would be nice to have the light on top since that's what you would use all the time. The "master switch" turns both off when leaving a room, and also turns both ON when coming into the room. That's ok if you want both "on" but that master switch isn't a "last status" (i.e. light on medium, fan off, etc), it's last status but "on" if that makes sense. So, if you just wanted to come in to the room, hit the master switch to turn your lights on, the fan comes on too. That's why having the small button that controls each individually would be nice to be on top. It's not a big deal, but something to get used to.You can also adjust each individually from the buttons by double-clicking each to adjust the light brightness (3 settings) and the fan speed (also three settings). Unlike other switches, it's not a press and hold or anything and the clicks need to be quick, like double-clicking a mouse on your computer.HomeKit: Setting up the fan/light in HK scenes were easy, as you would expect and they work great. The only thing that is taking a bit to get used to is the way the HK app works with the dimming of the light and the fan speed. It's a click/drag, which is fine (I haven't had any other brands so this is likely exactly what HK does and nothing to do with Meross) but it's click drag within those three settings each.Meross App: I like the simplicity of the Meross app, it doesn't do the click/drag like HK does and has the three fan speeds listed, allows the full slide of 0%-100% on the lighting and is almost identically set up like the switch itself. It has worked great and was super easy to add to their app (I added HK first and when I went into the Meross app, I simply had to click "add" and it did the rest instantly).Conclusion: Only a few things I would change and none of them would give me pause to purchase. I wish the other fans in my house were separately switched as I would add this switch to all of them. It works well, doesn't seem to have any signal issues, and both the HK app and Meross app function great with it. It was easy to install (remember, 2.4Ghz network and neutral wire required) and functions just the way it should.
J**M
Easy to install and even easier to use with Siri voice commands
Okay, so I just got my smart WiFi fan control & dimmer light switch (MFC100) setup about a week ago and I absolutely love it. Honestly, I was a little bit hesitant to get one of these because a few months ago I got a non-smart fan control & dimmer switch from Lutron for the fan and light in my bathroom and I had the most difficult time getting it installed. However, this experience with the meross switch was very different. What made the installation much easier this time around were a few small details but they made all the difference.First and foremost, the heavy gauge wires coming out of the back of the fan & dimmer switch made it very easy to connect to the heavy gauge wires coming out of the electrical box. The Lutron switch I installed had very thin wires, so when I went to twist them with the thick copper wires in the electrical box, they would constantly come undone in the wire connector cap. And, because they were so thin, I couldn’t use my push-in wire connectors because the wire would just get balled up, preventing it from feeding through the port. On this meross switch, however, the wires are a much heavier gauge and easily slid in to my wire connectors.Another small detail that really made installation a lot easier was the included sticker labels. Using these, you can keep track of each wire in the outlet box after you disconnect your old switch (see photo below). This made a big difference for me because my house is on the older side and all of the wires in my outlet box are either black or white, so it can get very confusing to know which wire does what without labels.Finally, the last small detail that made all the difference was the labeling on the back of the meross switch. Above each wire coming out of the back of the device was a written label describing what that wire was for (see photo below). Again, a small detail but a welcome one because you don’t need to keep flipping back through the manual to see what each wire is for. Instead, you just look at the back of the meross switch and read the label for a particular wire, then match that wire to one of the pre-labeled wires in the outlet box and make the connection. Repeat for each wire and you’re done. Easy peasy!After it was all set up and I turned the circuit breaker back on, it was a seamless experience adding it to Apple HomeKit. You just scan the QR code on the front of the switch and the accessory gets added to Apple Home. One really neat thing is that if you adjust the accessory settings in Apple Home, you can separate the fan functionality from the light functionality, so that you essentially have two separately-controllable accessories. All you have to do is click the “Show as Separate Tiles” button and then you can control the light and fan separately from your phone/Siri (see screenshot below). Pretty cool and less expensive than the aforementioned non-smart Lutron fan control switch.
Trustpilot
1 month ago
1 week ago