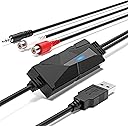
Desertcart purchases this item on your behalf and handles shipping, customs, and support to Cyprus.
🎧 Capture Your Analog Legacy, Digitally Elevated!
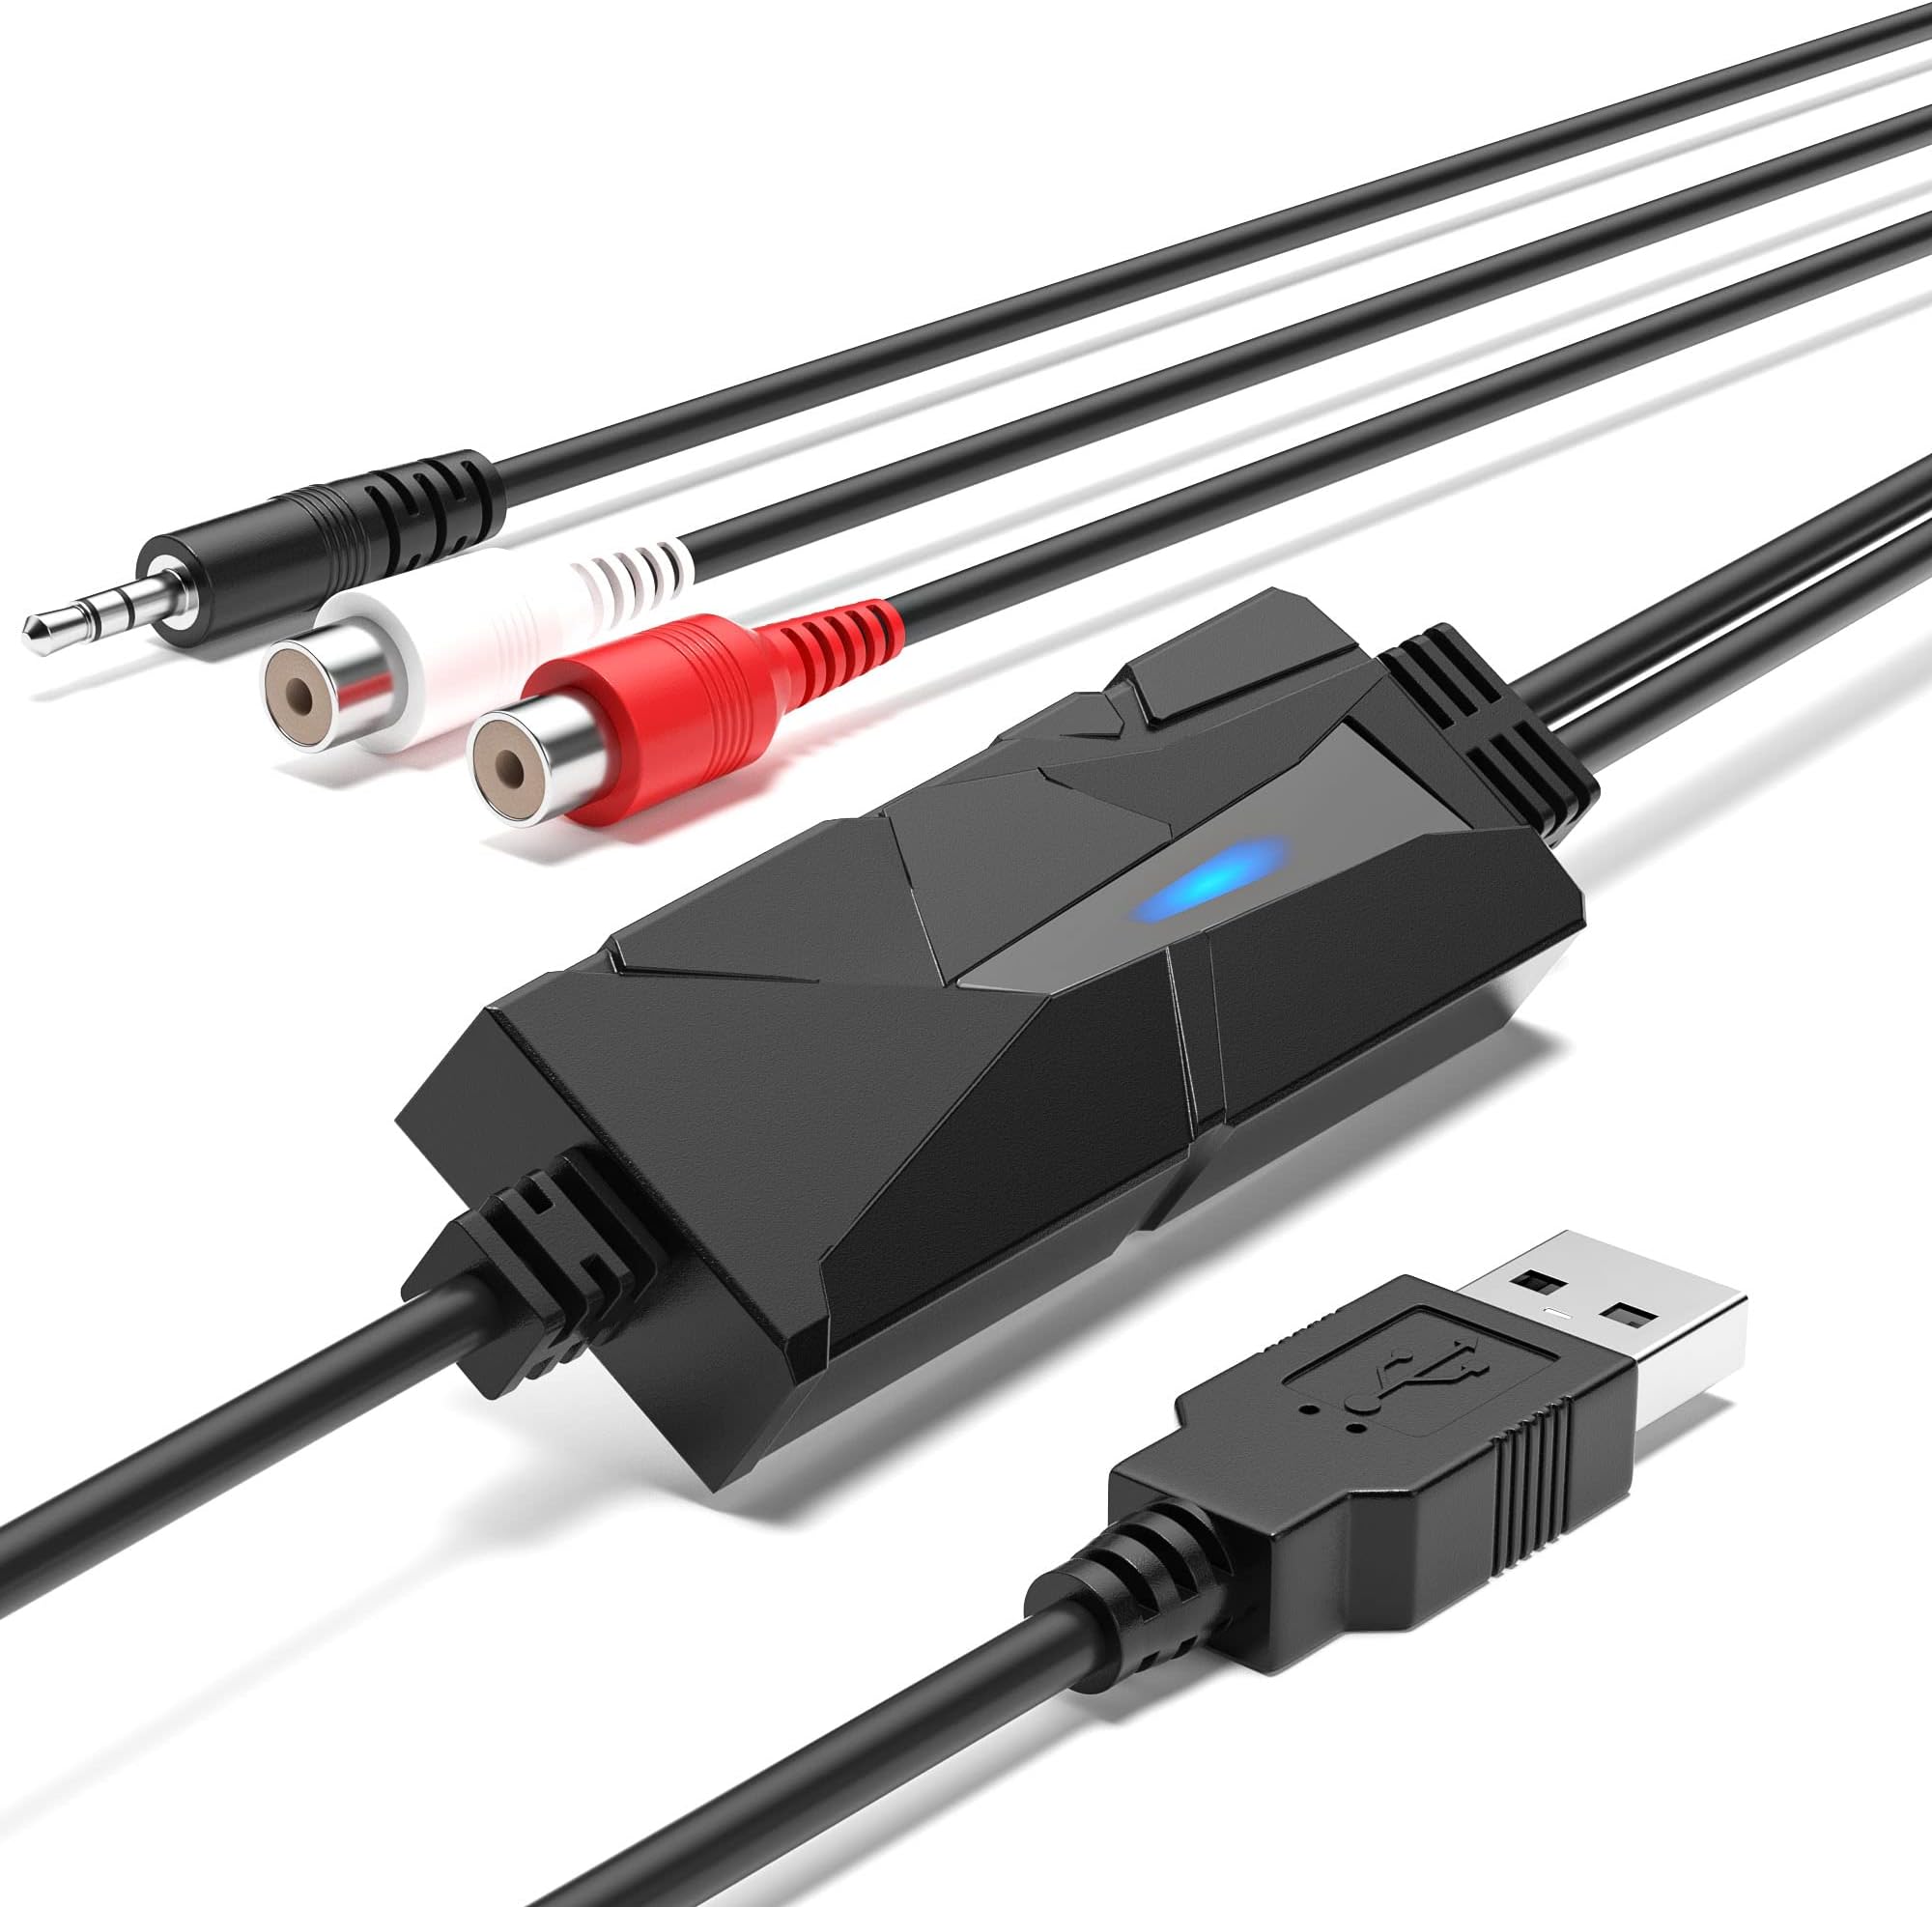
The DigitalLife AuralynX USB Audio Capture Device converts analog audio sources like vinyl records and cassette tapes into high-quality digital files via USB. Featuring dual stereo RCA and 3.5mm inputs, it supports Windows 7-11, macOS Sonoma, and Linux, making it ideal for music lovers, content creators, and educators. With a compact metal design, LED indicator, and 2-year warranty plus 24/7 customer support, it ensures reliable, professional-grade audio digitization and preservation.


| Asin | B07BHGWBFY |
| Best Sellers Rank | #15,718 in Musical Instruments (See Top 100 in Musical Instruments) #1 in Recording Signal A-D & D-A Converters #17 in Recording Signal Converters |
| Brand Name | DigitalLife |
| Compatible Devices | Laptop |
| Customer Reviews | 4.3 4.3 out of 5 stars (454) 4.3 out of 5 stars |
| Eu Spare Part Availability Duration | 2 years |
| Included Components | USB to 3.5mm interface cable |
| Interface | USB |
| Item Type Name | USB Audio Interface |
| Item Weight | 99 g |
| Manufacturer | DigitalLife |
| Material Type | Metal |
| Model | AV202-B |
| Mounting Type | Portable |
| Number Of Channels | 2 |
| Number Of Items | 1 |
| Number Of Pins | 4 |
| Part Number | 712195289961 |
| Unit Count | 1 Count |
| Upc | 712195289961 |
| Warranty Description | 2-Year Limited Warranty |
User
Works well, good value
Plug and play. Lots of messing around in Windows required, but that's normal. While Windows may see the device, it may also be necessary to go into sound settings and tell Windoze to actually use what it sees.Don't bother with the included Audacity disk if you can google "Audacity download" to get the current version via internet.So far, I've ripped a couple LPs and half a dozen cassettes, and am pleased with the results. Nice to get some of those old tunes on the server. The audio quality is excellent.A few thoughts on Ripping using Audacity:Once it's ripped, there are a few "Effect" filters you may wish to try out -1) Amplify - Will apply gain to the ripped tracks, if the audio seems too low. Recommended.2) Click - Does an OK job of handling the worst clicks and pops from LPs. It can be used selectively only where needed, or applied to the entire rip if needed. Not a cure all, but useful.Splitting into separate tracks:I've not been able to find a way to do that easily in Audacity, though you'd think there'd be a tool for it. Instead, I "File>Export" the entire rip as a single file, then use NCH's freeware Wavepad, which makes it easy to split.So, I'm impressed with this tool.
User
I Love This Gadget
I bought this to transfer cassette tapes to MP3s. This was EXACTLY what I was looking for. Very user friendly. I didn't read the directions. I just plugged one end into the headphone jack in my cassette player ( using a 1/8 to 1/4 " adapter) and the other end into my computer. My MacBook pro immediately found Logicpro. So, I was in business. GREAT transfer sound that I can EQ in Logic. I'm a very happy camper!
User
Works Well enough once you figure out how to use it. Poor tutorials.
I have a mini cassette recorder so I couldn't attach any RCA cables to jacks since it doesn't have any. The device has a plug in jack I could use on the recorder's headphone output jack. Once I figured out to use the software I was able to record content onto my PC via the USB cable on the opposite end. I saved the content as MP3 files with a Windows 11 operating system on the PC.The tutorials are not videos. But text based with no pictures. Online Youtube videos are not exact enough and some require purchasing additional hardware. I'm not sure people who purchase additional hardware need it. Volume is controlled by the output device. If the output isn't monitored, then it maybe set at too high a volume causing blare or distortion. The sound quality is also affected by what was recorded originally.I created 10 minutes audio clips, stopping the recorder playback after 10 minutes to save a segment and then proceed with another segment until all finished on one side of a cassette tape.Here is my tutorial. Download the Audacity app and install from the website given on the enclosed instructions. Check the sound level on the playback of the cassette player using earbuds before connecting the player to the PC. Connect the recorder with the plug in jack to the headphone output on the recorder. Plug the USB end to the PC or MAC. Bring up the Audacity app on the laptop or PC. Check all the settings. Under Audio Setup I used MME as the input and MP3 format for output. Check output for MONO or STEREO under RECORDING CHANNELS. I had the cassette recorder set to a point where I wanted to start recording. I pressed the red record circle on Audacity and then pressed playback on the cassette player. After about 10 minutes I hit pause on the cassette player and then stop on the Audacity app. I had on my desktop speakers so I could everything being recorded. Satisfied with what I recorded, I went to the FILE tab and down to Export Audio. There I double checked the output format, entered a file name, and place to save the file and hit enter. I went to the saved file and opened it in my PC to make sure what was recorded was good. Then I went to Audacity, FILE, NEW. After pressing record again in Audacity, I took the pause off the recorder to continue recording a new segment. Rinse and repeat until the end of the tape. Humor. I had 5 segments so no one segment was too large. You can save the project of each segment if desired before closing the app.
User
Better than expected
I have an old rock collection on cassettes. My old cassette deck died and was buried years ago, so I bought a refurbished Pyle cassette deck and this DigitalLife USB Audio Capture Card. I already had Audacity on my PC. I attached the RCA cables to the cassette deck, the USB to the PC. I opened Audacity and checked the default audio settings. It had already recognized the Capture Card as the input (Microphone (USB Audio Device)). I hit pause, then record in Audacity, put in a cassette tape and hit play, unpaused Audacity. It was magic! All of a sudden my old tape was being digitized. When it was done, I exported them as WAV files. I created individual files for each song vs one tape on file. The files sound great!
User
Surprisingly Good Quality Audio
I have a small collection of audio cassettes from the 1980s. With technology changing so fast, I wanted to make sure that I could transfer them over to a digital audio format. This USB Audio Grabber, especially for the price, hooked up in to my Apple MacBook Pro without an issue. I simply used my old Yamaha cassette deck plugged in with AudioQuest RCA cables into this device. In Apple Quicktime, I used the "New Audio Recording" option in the toolbar, adjusted the audio input, and recorded my old cassette tapes to digital. Sound quality depends on the original source, but I was pleased with the overall quality of the transfer through the USB Audio Grabber.
User
It has no manual it's lacking
It says it's for a MacBook Computer I don't know if it's for windows I have not tried the product.
User
Works great to get remote wireless microphone input into a Zoom meeting
This USB audio capture device is perfect for my use case. I'm using it to take the 3.5mm analog stereo audio output from a Karaoke wireless 4-microphone mixer and get it into a Zoom meeting.I host monthly Zoom meetings for our neighborhood association. Last fall we transitioned from Zoom-ONLY to hybrid meetings. The clubhouse where we meet for the in-person portion is pretty big and with our Board sitting at table at the front, our members in the back facing the board, and guest speakers between I had struggled to get an audio setup that would allow our REMOTE attendees to hear everyone. I finally settled on a wireless microphone system with 4 separate microphones that I can put around the room as needed. But the base station receiver for those microphones outputs a mix of audio from all four microphones through an analog 3.5mm port. I still needed a way to get that to appear as a digital audio input on my laptop. This device worked perfectly! I connected the 3.5mm analog output from the karaoke system, to this audio capture device, then plugged the USB end into my laptop. Then in the Zoom meeting I just selected the new USB 2.0 Audio Capture device using the Microphone selector at the bottom of the Zoom call. Everyone remote could finally hear all of the action in our in-person portion of the meeting. Problem solved!Oh, and for additional info: My laptop does have a combo headset/microphone analog 3.5mm jack, but it uses a 3-ring layout to output stereo audio and accept mono audio input (like you get from a wired cell phone headset cable back when phones had a 3.5mm jack). My karaoke system output is a simple 3.5mm 2-ring stereo signal, so I couldn't just run a cable from the karaoke system to my laptop directly.
User
Pretty Simple to Use and Did the Job Well
Had a big cassette-digitizing job that I had to tackle, and this little plug-in worked well. Be advised: There is no included software, and you have to have some kind of interface with which to operate the digitizing. I was working on a Mac, and I had to download Audacity, which took a bit of time to get familiar with, but it wasn't too bad. After that, it was smooth sailing. But just be warned that there could be a bit of a learning curve with whatever software you choose to use. However, the connector itself was problem-free.
User
Perfect for rescuing old cassettes and charity shop finds – Easy to use and great value!
I purchased the DigitalLife AuralynX USB Audio Capture Device specifically to convert my collection of old music albums and audiobooks from cassette to MP3. I’ve recently been finding a growing number of great audiobooks on tape in charity shops, so having a reliable way to digitise them has been fantastic.Setup and Ease of UseI am currently using Windows 11, and the setup was completely hassle-free. I simply followed the manufacturer’s guidelines and used the free Audacity software, which worked perfectly straight out of the gate to record my tapes. If you aren't on Windows, it’s worth noting that both this hardware and Audacity are advertised as fully plug-and-play with MacOS and Linux as well, so it's a very versatile little gadget.Design (Size, Weight, and Colour)The device is very compact and portable. It comes in a standard, unobtrusive black finish that blends in nicely with my PC setup. Weighing in at just 99 grams, it is extremely lightweight, making it easy to tuck away in a desk drawer when you are done, or to pack into a laptop bag if you need to digitise media on the go.Performance and ValueThis device offers fantastic value for money. The sound quality is excellent with incredibly low noise levels, ensuring the digital files sound just as good as the original tapes. When you consider how much professional media-transfer services charge, doing it yourself with this device pays for itself almost instantly.Pros:Incredibly simple setup: True plug-and-play functionality with no complex driver installations required.Broad compatibility: Works seamlessly across Windows (including Win 11), Mac, and Linux.Reliable performance: Great sound quality and works flawlessly with Audacity.Economical: A brilliant, cost-effective way to preserve aging physical media.Cons:Build quality: The casing is made of ABS plastic. While it keeps the device lightweight, it doesn't feel premium or heavy-duty, though it's perfectly adequate for standard home use.Software learning curve: While the hardware itself is foolproof, complete beginners might initially find audio recording software like Audacity a little overwhelming, though following the provided guidelines makes it easy.Common Questions a Buyer Might Have:Do I need to install proprietary drivers? No. Your computer will automatically recognize it as a USB audio input.What do I need to connect my cassette player? The device features both RCA and 3.5mm stereo line inputs. You just need to run an RCA or aux cable from your cassette deck's "Line Out" or "Headphone" jack directly into the capture card.Can I use this for vinyl records too? Absolutely. As long as your turntable has a built-in preamp (or you run it through a receiver first), it works exactly the same way.Overall, I highly recommend this to anyone looking to archive their old cassette tapes or digitise thrift store finds. It does exactly what it promises efficiently and affordably.
User
Calidad de sonido y facilidad de uso.
Nos llega en una cajita en donde se describen sus características y en el interior encontramos la propia capturadora de sonido y un manual de uso en varios idiomas incluido el español.La capturadora dispone de conector macho de 3.5 mm y conector hembra RCA L/R que conectaremos a nuestra fuente de sonido (equipos de sonido, reproductor de radio o CD, casetes, walkman, etc.); bien a las conexiones de salida o a la toma de auriculares.Por el otro extremo tenemos un conector usb que conectaremos al ordenador y desde la configuración seleccionaremos la entrada de sonido del usb; a mí me aparece como USB PnP Audio Device.Funcionamiento:Descargamos el programa gratuito Audacity (es fácil encontrar tutoriales) y comprobamos que la entrada de sonido está seleccionada correctamente y empezamos a reproducir en nuestra fuente de sonido, dándole grabar en el programa y veremos cómo avanzan las ondas de sonido. El volumen tenemos que controlarlo desde el dispositivo de salidaLuego editamos a nuestro gusto y guardamos en el formato seleccionado.Yo en principio intenté con los cables RCA pero no conseguí resultados y al probar desde la salida de auriculares todo fue correcto.Me ha gustado:• Facilidad de uso.• Muy compacto.• Creo que da una buena calidad de sonido.No me ha gustado o mejoraría:• No le he encontrado ninguna pega.Conclusiones:Para un simple aficionado como es mi caso, me ha resultado muy fácil de utilizar y las grabaciones obtenidas me parecen de buena calidad; no serán profesionales pero nos permite recuperar grabaciones personales o de las típicas mezclas que hacíamos de jóvenes en casetes.Un saludo y espero que mis impresiones puedan ser de utilidad.
User
Super funktioniert
Super funktioniert
User
sur lenovo, je vous explique via audacity et en détail !
J'ai trouvé le bon système et je vous explique. 2 Platines vinyle 1980 (son pur et sans électronique), via un ampli numérique.- Tests avec connexion : prise jack, son de sortie casque de l'ampli (raccord jack 3,5 en 6,35 pour l'adapté) vendu sur AMAZON), le son est impec ! Il ne vous suffit que de monter le son de l'ampli pour régler le niveau d'enregistrement d'audacity (pas de basse ni subwoofer pour le son de l'ampli, NEUTRE).- Pour les prises RCA, il vous faut une table de mixage ou un petit ampli entre la platine (vendu sur AMAZON (marque JAIDA 30 euros) et ce système (grabber AV 202) (je vous l'explique pourquoi, après).1 - J'ai connecté directement l'entrée sur la sortie casque de mon ampli. Vous connectez l'usb grabber sur votre PC (internet connecté pour la mise à jour automatique) Après , l'ordi met à jour l' "usb audio". Le son à l'enregistrement est nickel, rien à faire si le son vous convient . (norme entre 0,5 et 1 db maxi pour une bonne écoute avec audacity)2 - sans ampli, test avec les jacks connectées directement de la platine sur le 'grabber A202', le son d'enregistrement est pourri., j'ai essayé de traiter le son via audacity (saturation). Il vous faut donc un petit ampli ou une table de mixage entre la platine et le "grabber AV202" en passant avec les prise RCA.- Réglage et paramètrage de l'audacity avant enregistrement et après.- dans le menu d'audacity - paramètre audio - périphérique d'enregistrement - réseau de microphone (USB PnP...) / Hôte - Wasapi / périphérique de lecture - haut parleur/écouteurs realtek / Canaux d'enregistrement - Stéréo.Menu audacity : -fichier-nouveau puis vous cliquez sur le bouton enregistrement d'audacity (Point rouge du menu) , vous mettez votre vinyle en route et vous verrez les niveau sonores s' afficher sur votre écran. (norme entre 0,5 et 1db). Si le son est très bas (par RCA (fil jaune et rouge) il vous faut un ampli ou une table, sinon le son sera dégueulasse et intraitable (saturation - 42 db à l'enregistrement pour mon cas.- Par la sortie casque de l'ampli, le volume de l'ampli règle le son pour l'enregistrement sur audacity, donc, rien à faire, Pour moi, le son est au top.A la fin de l'enregistrement du vinyle : le bouton noir à l'écran, vous cliquez dessus."pour chaque modif du son sur AUDACITY : double clique sur la ligne d'enregistrement pour le mettre en surbrillance tout votre enregistrement.Gestion du son d'audacity dans le menu et avec votre souris : (si vous faîtes des erreurs dans le son , le menu à gauche : -édition - annulation- Effet - Volume et compression - amplification - soit vous l'amplifiez ou le normaliser (avec votre souris le curseur au milieu de l'écran vers la droite ou gauche ou vous le tapez dans le cadre juste au dessus.- autorisation de la saturation, ouille cela veut dire qu'il y aura un problème avec votre son final.Le plus simple normalisé le son et pour les aguerris , réglages du son via l'amplification et les égualizers.Rappel : vous n'aurez jamais un son parfait d'une platine vinyle connectée directement sur le grabber AV 202B, la platine vinyle à un son trop bas, donc intraitable en direct.Le grabber A202B est en sortie USB stéréo, le reste du son dépend de votre matériel.Résultat de mes tests , une platine SONY a un son moins bon qu'une ASUKI, j'ai fait le test.Je vous recommande donc ce produit, une fois la maîtrise d'audacity, c'est simple mais il faut s'y mettre et tester toutes les possibilités de ce très bon logiciel de traitement de son.
User
Funkar även med "WavePad Audio Editor" på Mac
Fungerade utan på problem på min Mac. Jag använde appen "WavePad Audio Editor" som finns gratis i Apples egen appbutik "App Store".
Trustpilot
1 month ago
1 week ago