


🚀 Elevate Your 3D Printing Game!
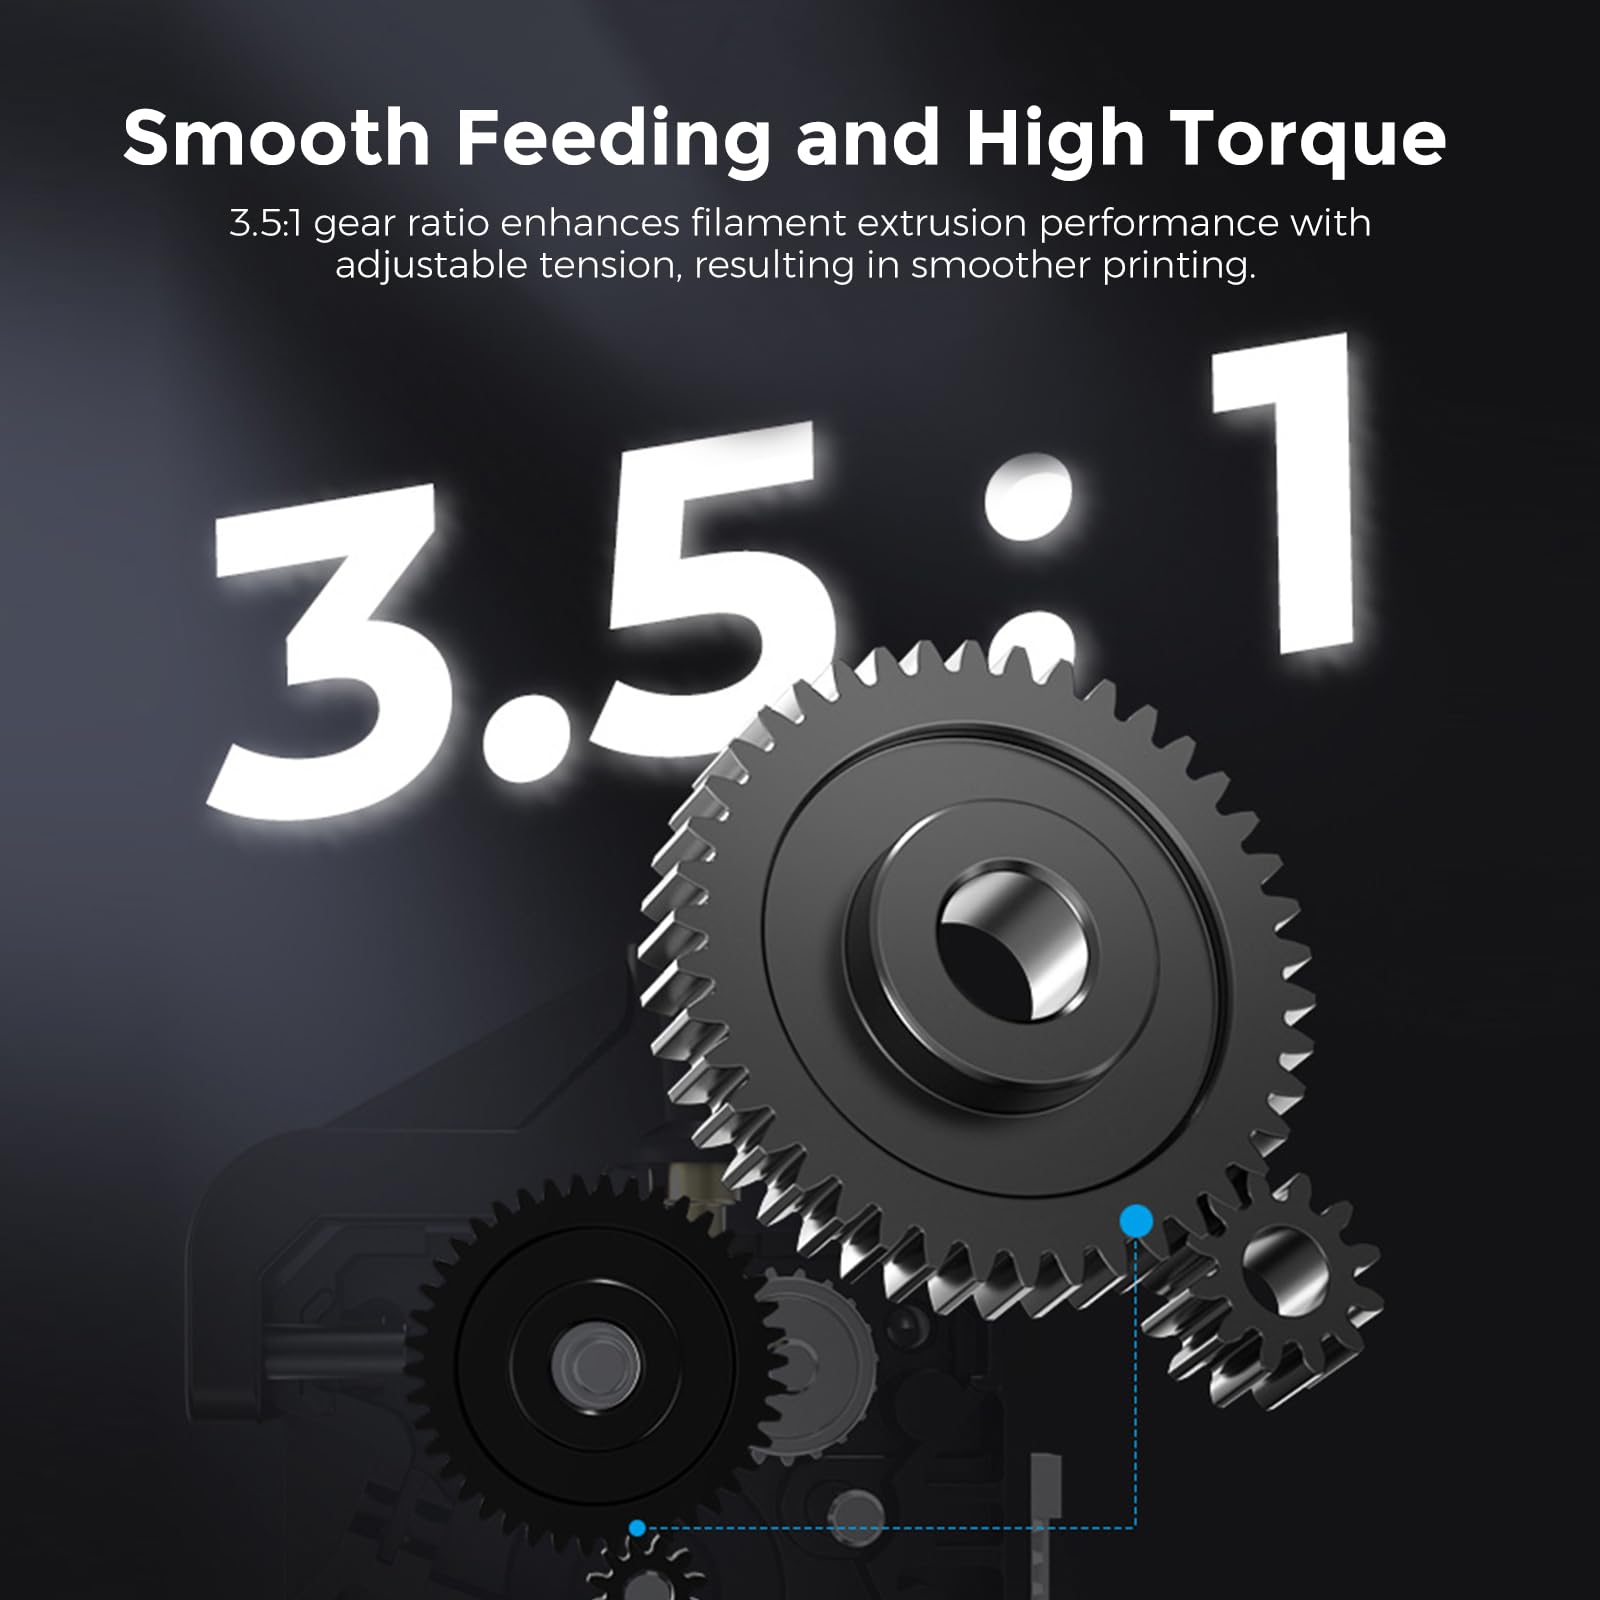
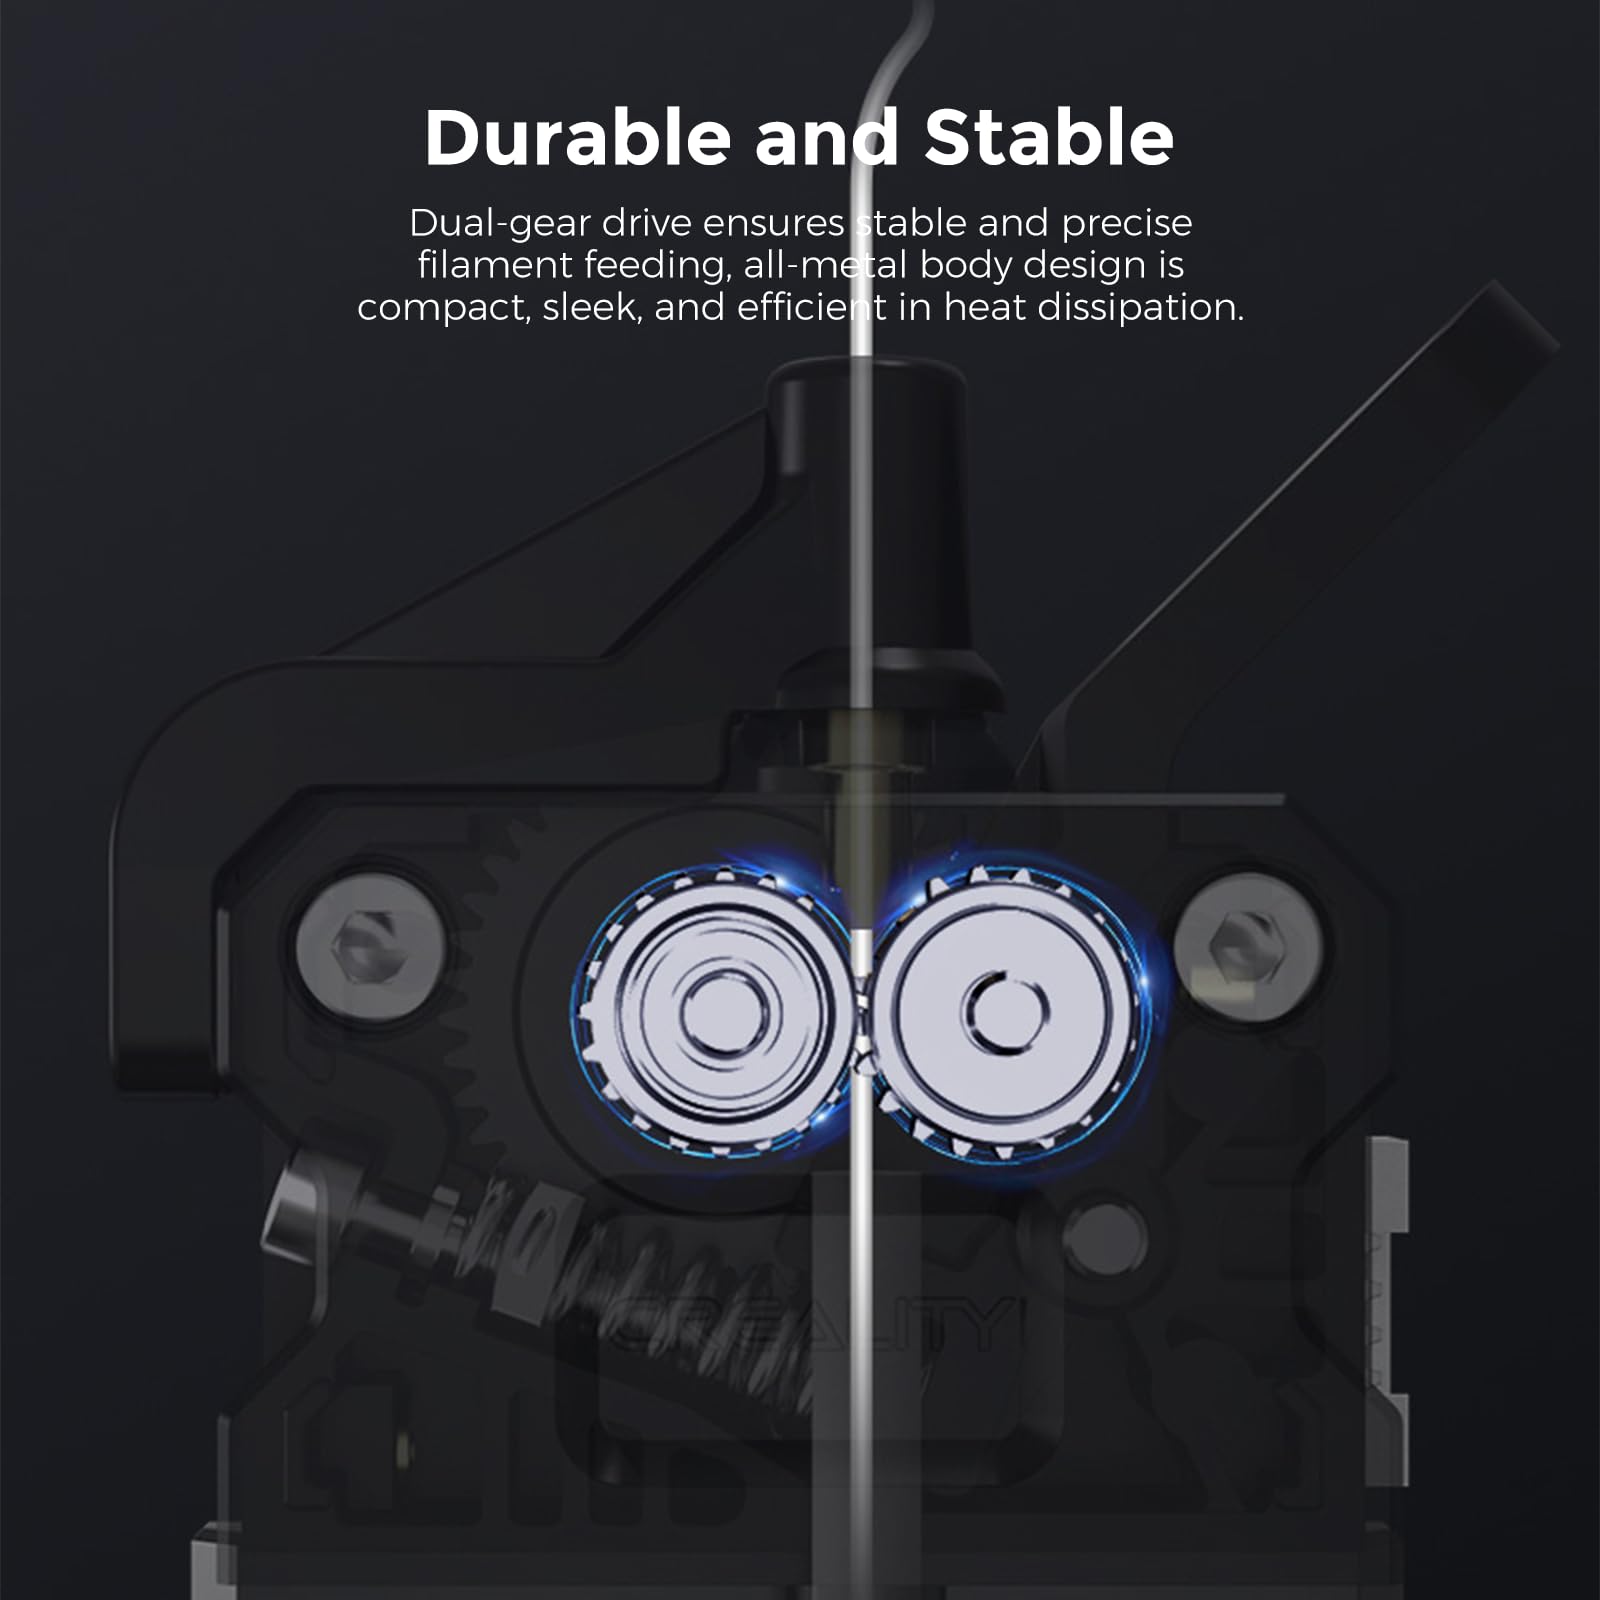
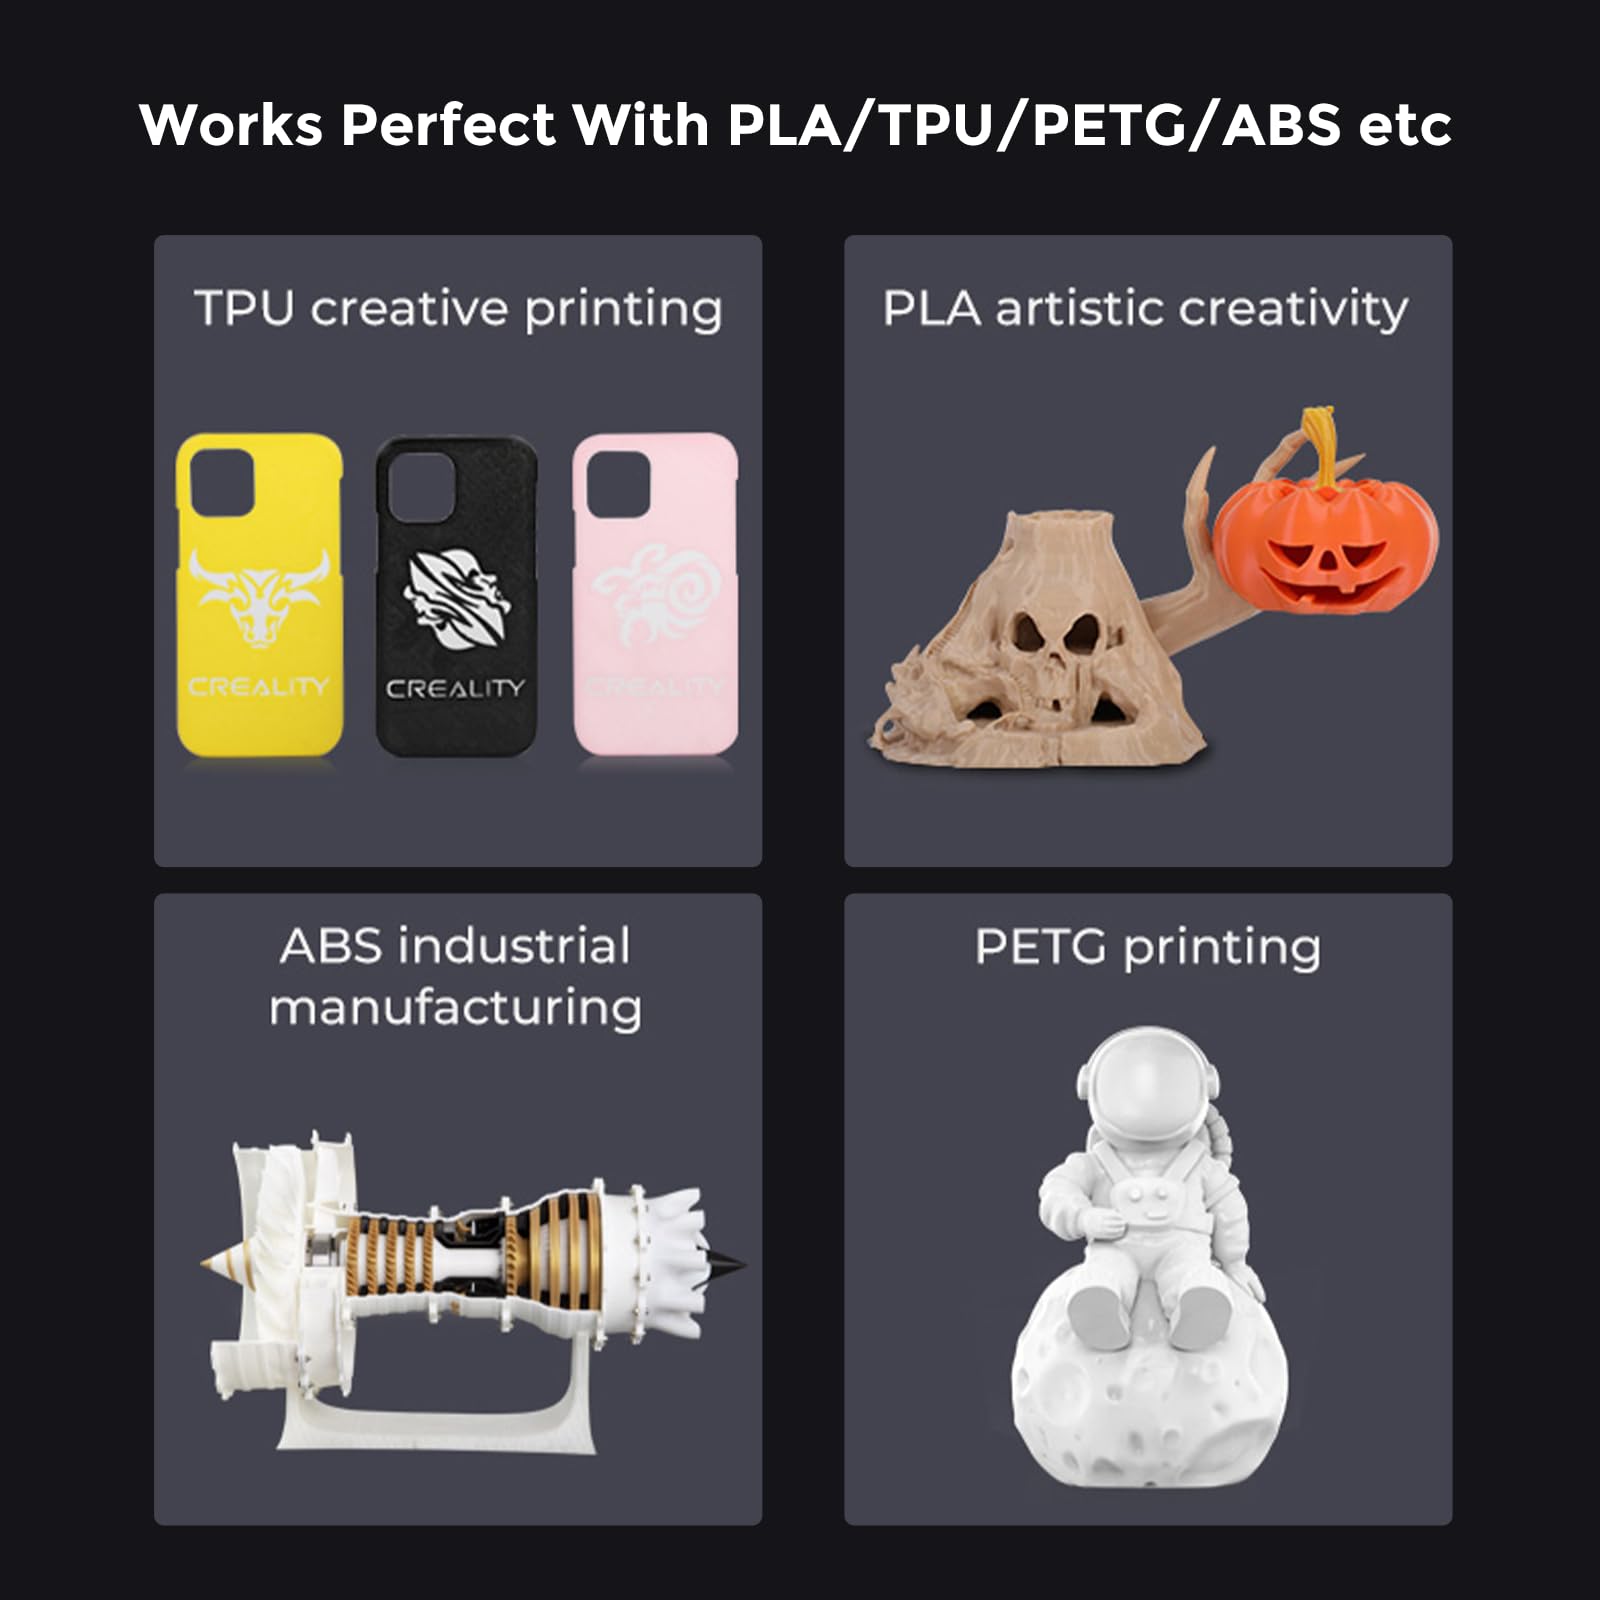
The Creality Official Sprite Extruder Direct Drive Kit Upgrade 2023 is a cutting-edge enhancement for your Creality Ender 3 V2 Neo, Ender 3 Neo, Ender 3 Max Neo, and Ender 2 Pro 3D printers. This dual gear extruder offers exceptional accuracy, a robust all-metal design, and a user-friendly installation process, making it the perfect choice for both DIY enthusiasts and professional creators.
| Manufacturer | Creality 3D |
| Part number | CL-Neo-JCJ |
| Item Weight | 270 g |
| Package Dimensions | 11.3 x 8.3 x 6.7 cm; 270 g |
| Manufacturer reference | CL-Neo-JCJ |
| Colour | B-Ender 3 Neo Sprite Extruder Direct Drive Kit |
| Batteries included? | No |
| Batteries Required? | No |
M**H
A pretty easy install on an Ender-2 Pro
I wanted to add a bimetallic heatbreak to my Ender-2 Pro so I could regularly print PETG without the Bowden tube breaking down and putting nasty things into the air. But bimetallic heatbreaks mean short retractions, and short retractions really favour a direct drive extruder.I found out from a Facebook group that there was an extruder-only version of the Sprite, and that the Neo version will fit the Ender-2 Pro. A bit more googling and yes, this is an official product, though they don't talk about it.It looked easy enough to install, so, not being much of a tinkerer, I thought I'd risk this at the Prime Day price, and I am happy.It's pretty easy to install and all the bits do their job. If you're using a different hotend or a bimetallic heatbreak you'll need to trim the short length of PTFE tube to a shorter length than in the instructions, but this is pretty easy to figure out.It's not as heavy as you might worry -- certainly much lighter than the outcome of a direct drive extruder plate for the existing extruder and X stepper would be. It does not have an awful lot of torque so you will not see extremely fast retractions, but it appears to be well capable of the kind of retractions that a bimetallic heatbreak will need.I might be seeing slightly more X ringing, but that could be a red herring.A typical PTFE tube will fit into the little port on the top and I suspect stay put well enough for a reverse Bowden setup, but there are adapters on printables for typical Bowden tube connectors.
V**R
Direct Drive: The Upgrade My Ender-3 Needed
The media could not be loaded. Converting my Bowden-style Ender-3 3D printer to a Direct Drive-style printer was a decision I spent a long time contemplating. I've seen many pros and cons for both styles of printing. However, after much deliberation, I decided to purchase this kit online and set it up myself.The setup process was easier and quicker than I initially anticipated. All parts were included, instructions were clear, and common sense could be applied if any confusion arose. Overall, it took me about 20 minutes to double-check and finalize my setup.The Direct Drive unit is much lighter than the original Bowden tube motor I had, making printing easier due to a less cumbersome printhead. It is also very sturdy and aesthetically pleasing, especially since the unsightly Bowden tube is now absent.The only minor adjustment I had to make was configuring the E-steps in my Klipper software. It took some time to calculate, but once done, I easily inputted the values and printed a calibration cube, which turned out exceptionally well. Lines were clean, and issues like ringing and echoes were minimal, though they were never a major concern for me.Overall, this is an excellent upgrade. I'm delighted with my decision, as it allows me more freedom to print with TPU plastics and expands my printing capabilities. Thank you, Creality.
A**Y
easy upgrade
The hot end on my ender 3 pro clogged up pretty badly so bought a new one and thought I'd upgrade to direct drive, easy to fit. set the esteps to the recommended setting run a test everything was fine, used it quite a bit with no problems
M**N
Does the job
Thought the motor wasn't working, realized it was going backwards, had to update the firmware to invert the motor. Fairly easy to install once I found the spanner for the wheel locking nuts. Definitely needs the dual z-axis upgrade kit for ender models that only have 1.
A**R
put on my ender 3 works good so far
I bought this to enable better tpu printing and to fix poor extruder on my ender 3. Installed in 10 minutes, manual was over complicated and just using brain did ok. You have to trim the blue ptfe to fit, and the manual says to change your estop mm/s setting in the print menu to 424.9mm/s but doing this on my ender 3 the test print came out ok but a bit too much extruded. I reduced to 416mm/s and better but still a bit too much extruded, so tomorrow i will reduce the value to 410 and keep going until it is better. Overall I am happy, the ender 3 looks cleaner and more efficient, printing flex filament is now possible. I chose this sprite extruder kit aslo because it is lightweight and using other direct drive kits are heavy causing the z axis to slide down when idle state, but this sprite kit holds z in position no problem with weight. overall happy.
A**R
Great replacement
The extruder was easy to fit , Changed the settings in the printer and that was it did a number prints and it works great.
X**4
Not worth ordering!!!!
Got this item delivered and the fitting plate did not fit my printer which is a Ender 3 Neo. I ordered the correct kit so be very careful when you order
C**E
Really dose a great job
This has really taken my ender 3 to the next level would highly recommend this to anyone
N**E
Perfect for printing TPU with Ender 3 Neo
I bought this to try print TPU on my Ender 3 Neo. Installation is pretty straight forward despite instructions that are just OK. There are enough video resources online to help. My menu selections for adjusting E-steps was different than outlined in the manual; for me they are under Menu>Configuration>ADV.SET.>steps/mm.First print was a calibration cube using Overture TPU printed at 235C (first layer 245C) on a G10 build plate at 30C and the result was excellent.
P**C
Printing is back to normal
The original extruder on my Ender 3 Pro wasn't moving the filament as well as it should, causing underextrusion. After installing this unit, it's working better than ever. Installation was very straightforward, no issues there. The instructions say to set the ESteps to 424.9, which a quite a bit different from the 93 or so range I'm used to. After install/adjusting ESteps, performed a 100mm infeed of filament which yielded 100mm of filament extruded, so everything was a go. With a calibration cube and benchy out of the way (with great results I might add), it was onto some actual prints. So far, so good. Waited till I had about a dozen prints under its belt before writing this review, and everything is working as it should. Highly recommend.
G**N
trés bon produit
idéal pour un petit Up de ma ender3 v2 et facile a installé
C**N
Perfect
Perfect
P**I
Super extruder
Ich finde den super immer wieder gerne
Trustpilot
1 day ago
2 months ago