


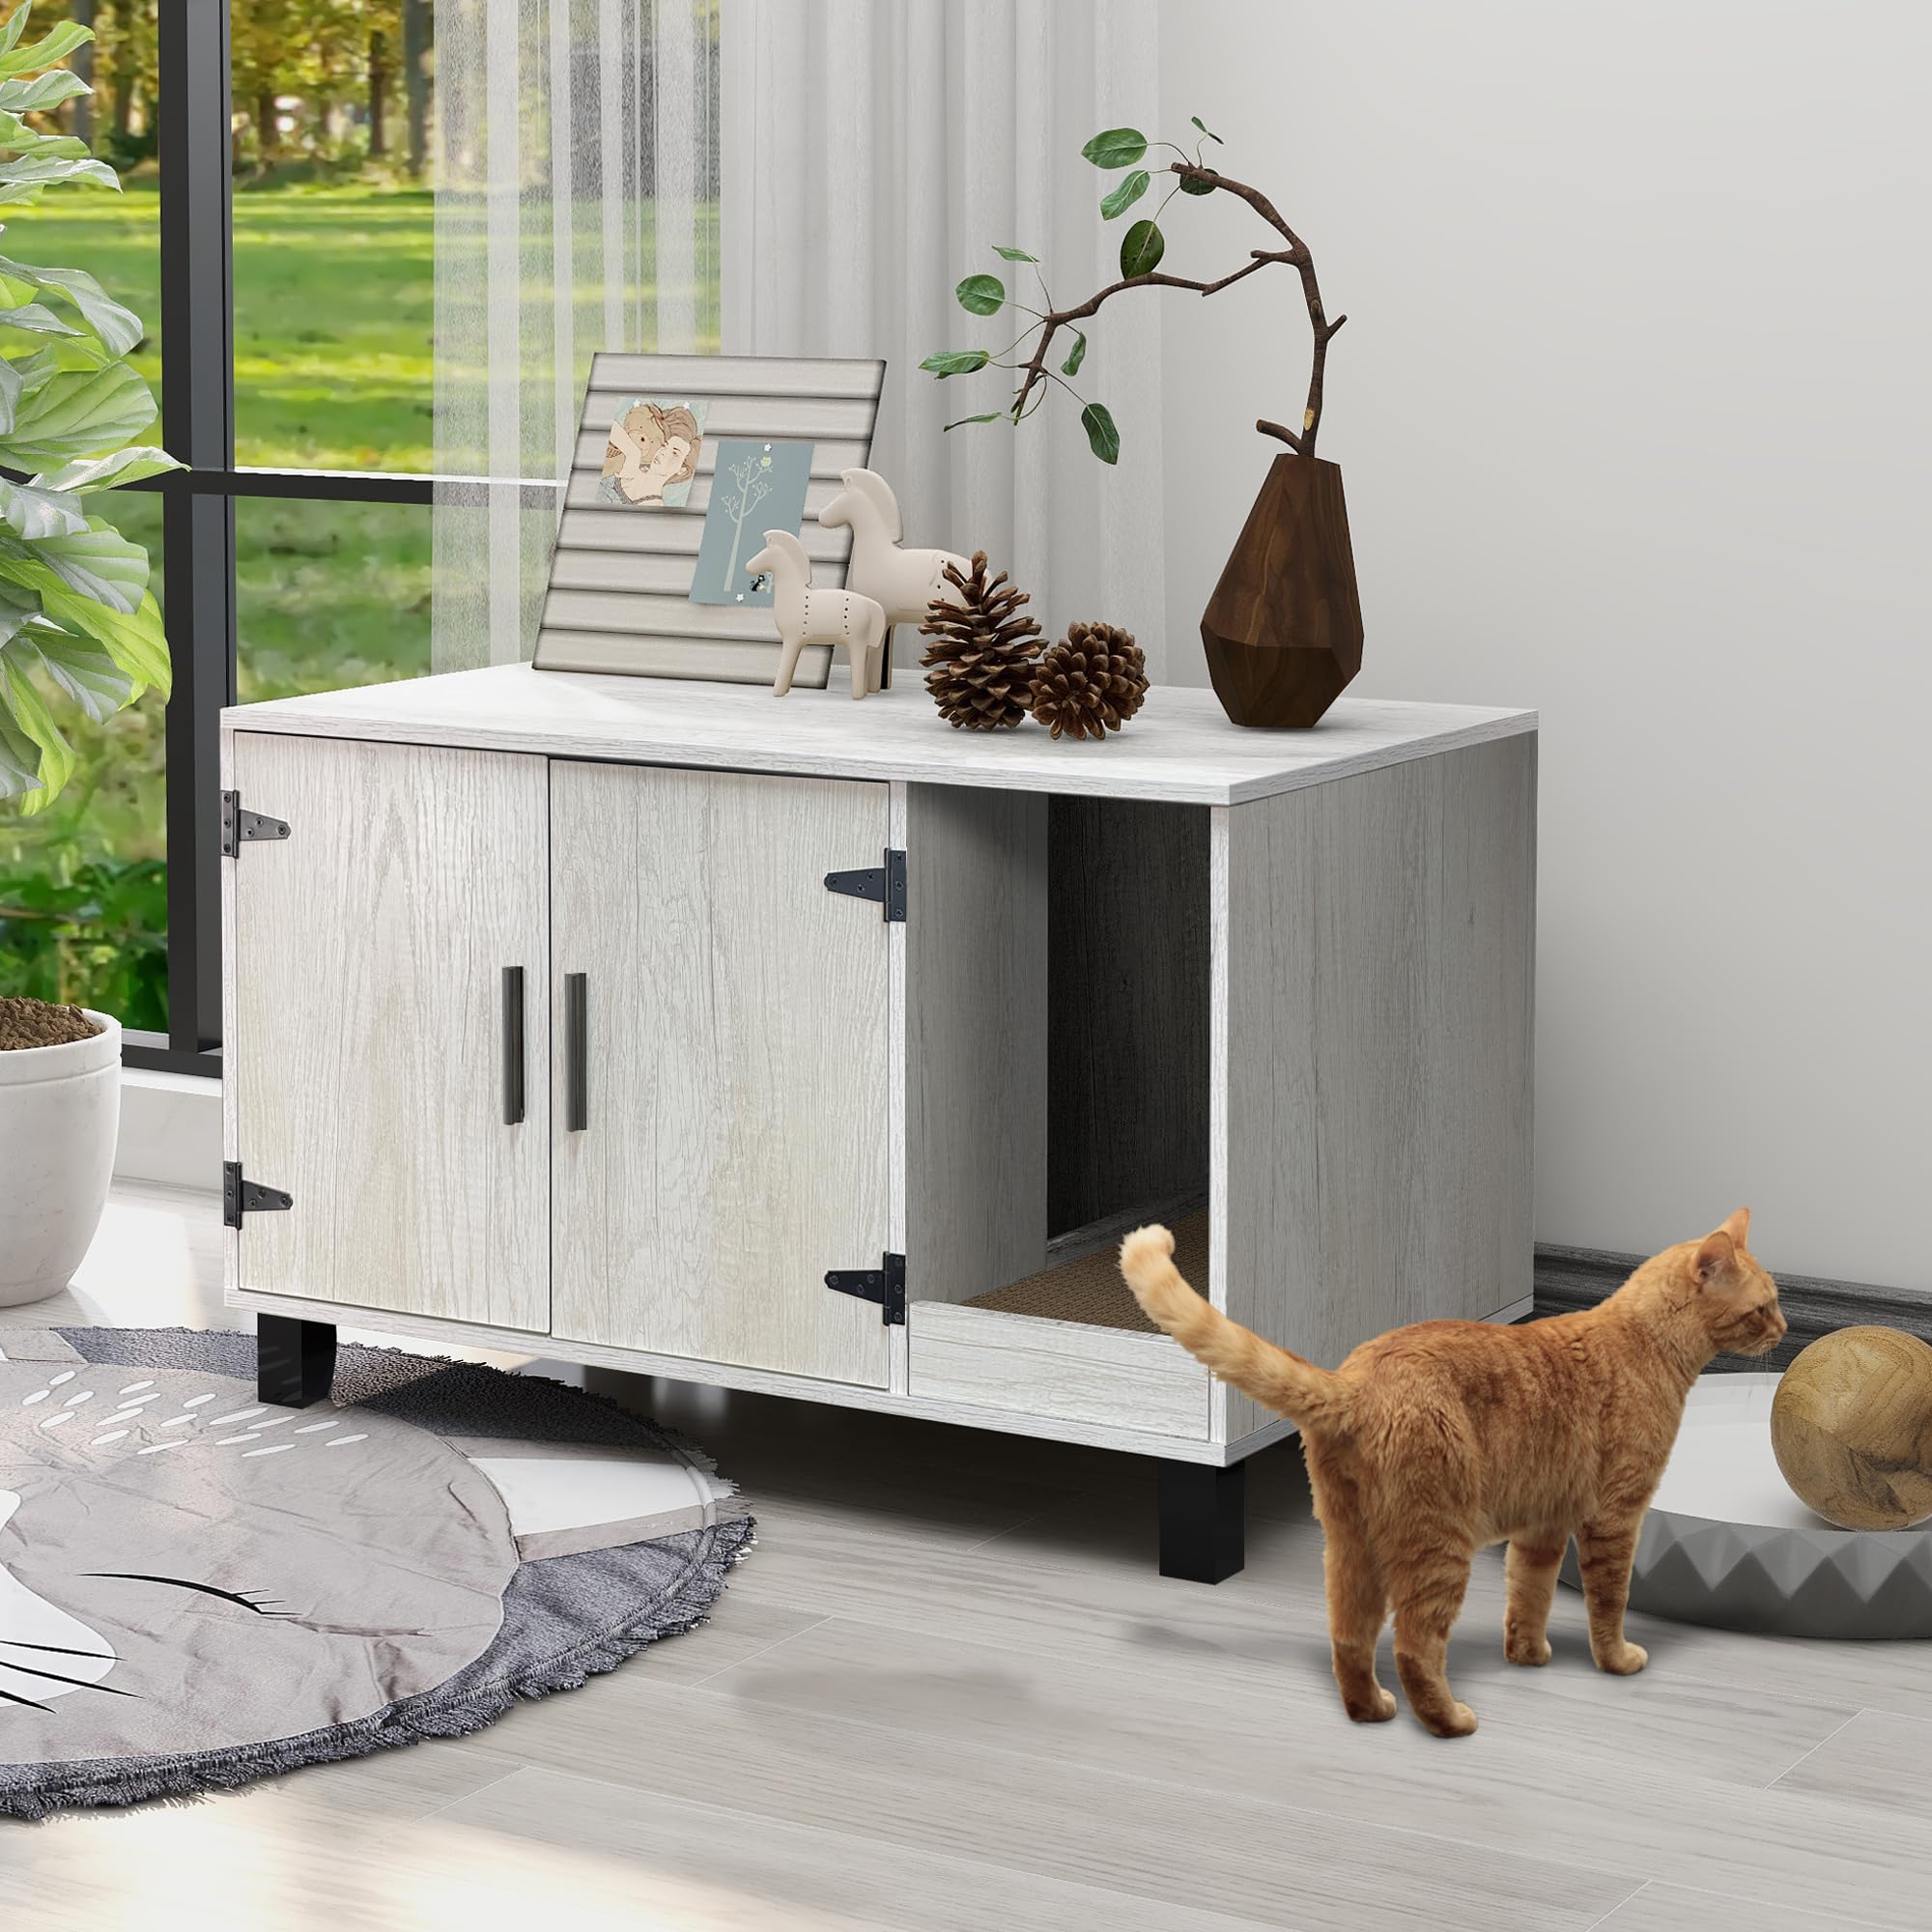
🐱 Hide the mess, flaunt the style!
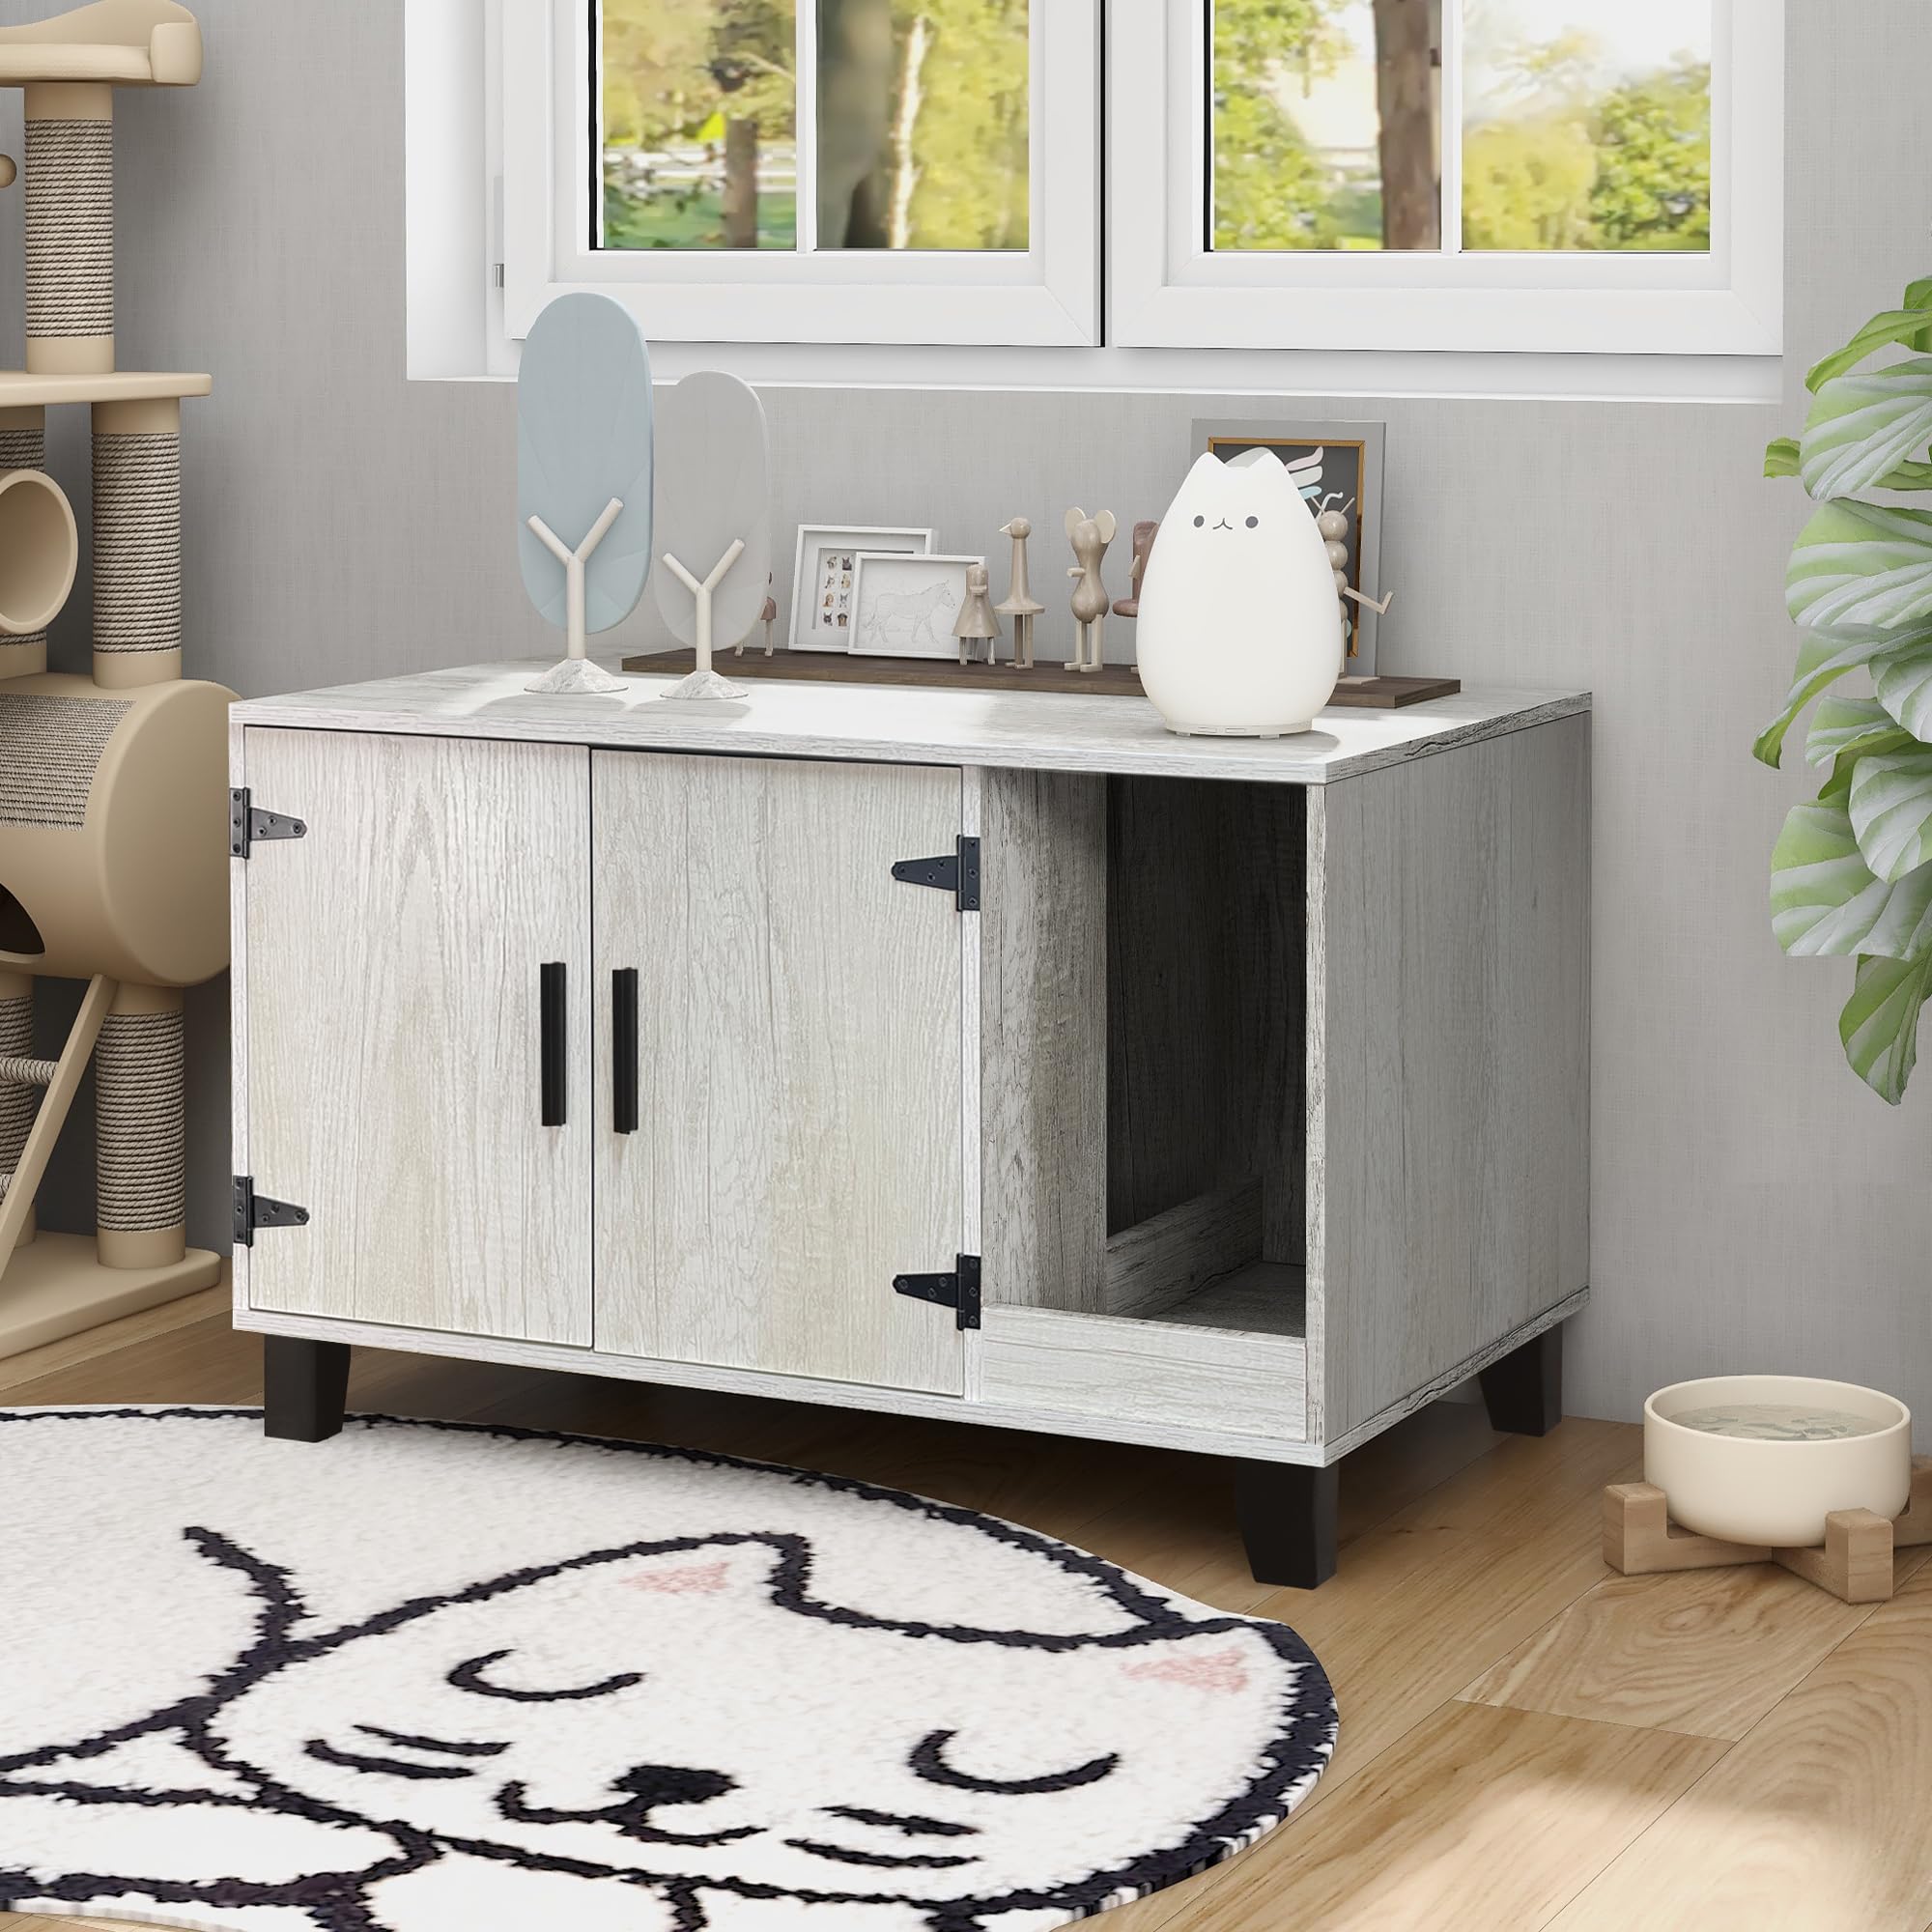
The TaoHFELitter Box Enclosure is a high-quality, walnut-veneered cat litter box cabinet designed to blend seamlessly into your home decor while providing a functional space for your cat. With features like a water-resistant surface, odor control ventilation, and a built-in scratch pad, this enclosure is perfect for pet owners looking to maintain a clean and stylish living environment.
K**L
Recommended Product!
This Review is for TaoHFE Litter Box Enclosure Cat Litter Box Furniture Hidden With Cat Scratch Pad Decorative Farmhouse Wooden Hidden Litter Box Cat House Litterbox Furniture Cat Box Furniture Litter Box Cabinet (Pine)My cat didn't hesitate to use the litter box that I purchased to go inside the assembled cabinet. I was very happy to see that litter was no linger being scattered on my floor. He tracked out more litter than any of my previous cats - it was like he was clenching his toes in the litter box, for just that purpose. The cabinet also reduces waste odor in the room MUCH better that the dome litter box my cat had used previously (Litter boxes ARE cleaned at least once a day - twice or more if my eyes water or I gag when I enter the room).That being said, assembly was more complicated than it should have been, due to the poor instructions/illustrations and the looseness of the dowels. However, when it was done, 2.5 hours later (By myself – not much experience in assembling furniture and considerable time just figuring things out), it was a good looking cabinet. Hubby (180lbs) and I (None of your business lbs) sat on it at the same time the next day, and it was very solid.Here are my assembly tips:1. First of all, I listened to other reviews and used glue on the dowels. My preferred glue was clear Gorilla glue rather than wood glue mentioned by other reviewers because of its flow and strength with dry. I filled the dowel holes on one side of the join with the glue, pushed in a dowel peg, removed it and flipped it over and then reinserted it. The removed end would be coated with the glue when it was inserted into the join piece. There was enough glue left in the hole I had filled, to hold that end of the dowel peg end when it dried. Of course, when doing the first insertion of dowel into the glue-filled hole, some glue oozed out of the hole. That was fine… I merely smeared the pushed-out glue along the line where the joined piece of wood would sit. I ALSO put the glue into all four of the grooves into which the back panel sits. Once pieces were joined together, I DID carefully wipe up any seepage of glue.2. The directions said the flathead and Philips screwdrivers were need for assembly. One screw, screwed in halfway with much effort, prompted me to get my cordless drill and use that, with a Philips screwdriver tip. Brrrzt, Brrrzt, Brrrzt… All done, Easy-Peasy!3. Steps 2 and 3 were the most difficult, not only due to the instructions but also because the walls being attached to the base were wobbly and inclined to fall apart when trying to join them to the base. What I ended up doing was assembling them, one by one, on the actual base (Sitting on its legs on the floor), rather than assembling them BEFORE I attached them to the base. SLIGHT tipping of this wall piece or that, was needed to get different sets of dowel pegs to line up.4. I had some difficulty figuring out Step 6 and Step 8, since I had never seen cam bolts before, and the drawings didn’t make it clear which end of the cam bolt would be inserted into the underside of the top. It was the Philips head grooves in Cam Bolt A that finally clued me in for what I needed to do in Step 6. I used those Philips head grooves to screw it into the underside of the top. For Cam Lock B in Step 8, it seemed logical to insert it into the hole with the arrow pointed up. I pushed it in with that orientation until it was flush or just below flush with the wood panel. There was a sort of click. Being too lazy to switch to a flathead tip in my cordless drill (Step 8 was the only step that had anything that looked like a flathead screwdriver could be used), I used the already installed Philips drill tip to tighten that part.5. Step 4 was screwing the walls to the base, from under the base. I skipped that step until the very end since my glue wasn’t dry when I was at that point in the directions. Tipping the base to get to the screw holes would have made everything fall apart. By the time I got to the very end, the glue was tacky enough to hold stuff together, despite not being fully cured. Ever the impatient risk-taker, rather than wait until the glue was fully dry/cured, I CAREFULLY tipped the cabinet to rest on its back and then put in all the screws. Nothing shifted during said tipping onto the back, nor when putting the cabinet back upright – YAY!6. All parts need to assemble the product were included with NOTHING to spare, so don’t lose any screws or dowels or whatever.BTW… Hubby WOULD have helped, or rather, completely done the assembly by himself. HOWEVER... the package arrived very late and he was in already asleep in bed. I was too excited to wait until after work the next day (new cat after long grieving the sudden passing of my previous cat).I am very pleased with this product and recommend it, despite having assembly directions that could use some revision. If I can can assemble this piece, I'm sure most prospective purchasers of this product can do so as well.
T**Y
Perfect for small spaces!
I needed a box for the laundry room but didn’t want to crowd things. This one is perfect. And the dog cannot eat kitty crunchies since the box is inside and the cat has to go in and turn to get to litter box. No room for big dog heads. It is a smaller box so keep in mind if you have a large cat. And definitely measure before buying litter box. It went together easily, the doors latch securely and do not pop open on their own. Whole thing wipes down easily too. The top is nice and flat and my cats enjoy lounging on it.
S**R
Good quality for the price. Easy assembly. Looks good.
For $55 I didn’t expect much but was pretty surprised. All holes line up, all parts function as intended. Assembly similar to most cheap furniture with dowels, screws, cam locks etc.Only took 30-45 to assemble. Doors open wide to allow a large litter box inside. Only complaint is that the legs don’t all have bevel face outward or the same direction and 2 dowels wouldn’t go in one side far enough and pushed veneer off outside of the other. Could’ve checked but forgot. Doesn’t affect functionality.
M**N
Great Product
It came in good shape. It took a bit for me to figure out how to start. The directions were good. It took a couple of hours to assemble and looks fantastic. All there is to do is wait for my cat to use it. Highly recommend this!
D**H
Well made
The media could not be loaded. You definitely want two people to put it together the directions were easy to follow if you have any experience with building anything. The dowels and putting step three or four together with one person is extremely difficult but I was able to do it by myself. I find the item to be well made well-constructed. I do think that there should be some little holes along the side near the top for light instead of just in the back because most people will push it against the wall like I did. I read other people saying that the scratcher pad did not fit in the designated area mine fits perfectly. If I needed a second one I would definitely purchase this again
K**A
Love love LOVE!!!
Was a little sceptical with some of the negative reviews but I absolutely love it!! My cat has barely touched his cat tree until i put this enclosure together and put the tree on top! I love how I can also put his food on top as well and it fits a extra large litter box! I would definitely use a screw gun if you have one handy as it does take a bit of time to do it all with a screw driver 😮💨 I’m so happy I got this I love how it conceals the litter box and all the litter that gets on the floor!
Trustpilot
5 days ago
3 weeks ago