Desertcart purchases this item on your behalf and handles shipping, customs, and support to Cyprus.
🎨 Transform your Steam Deck into a transparent masterpiece—because ordinary is overrated!
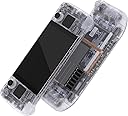
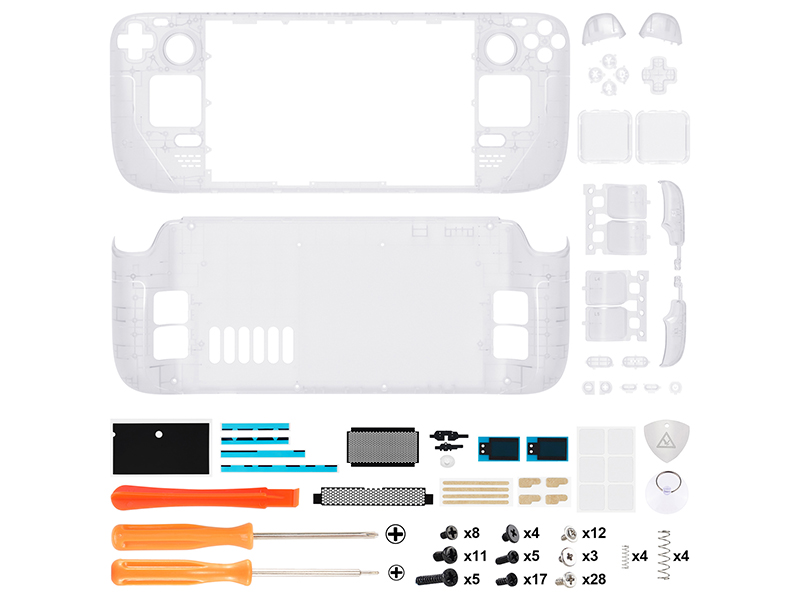
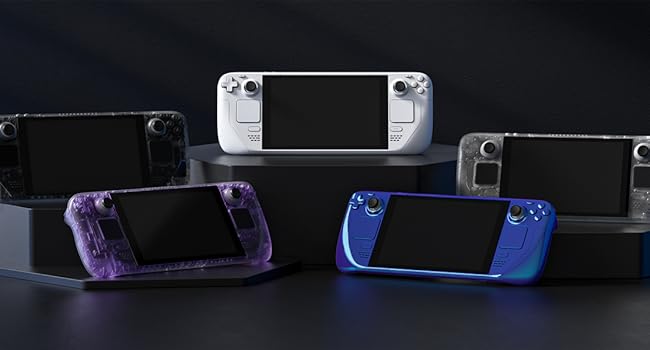
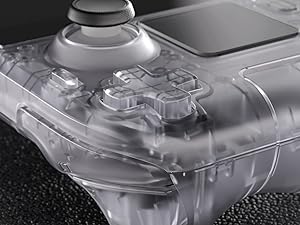
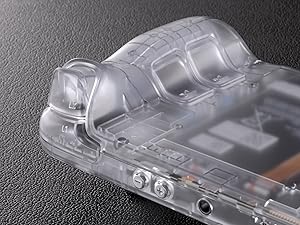
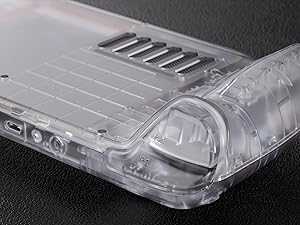
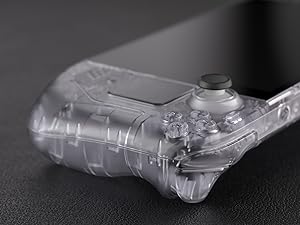
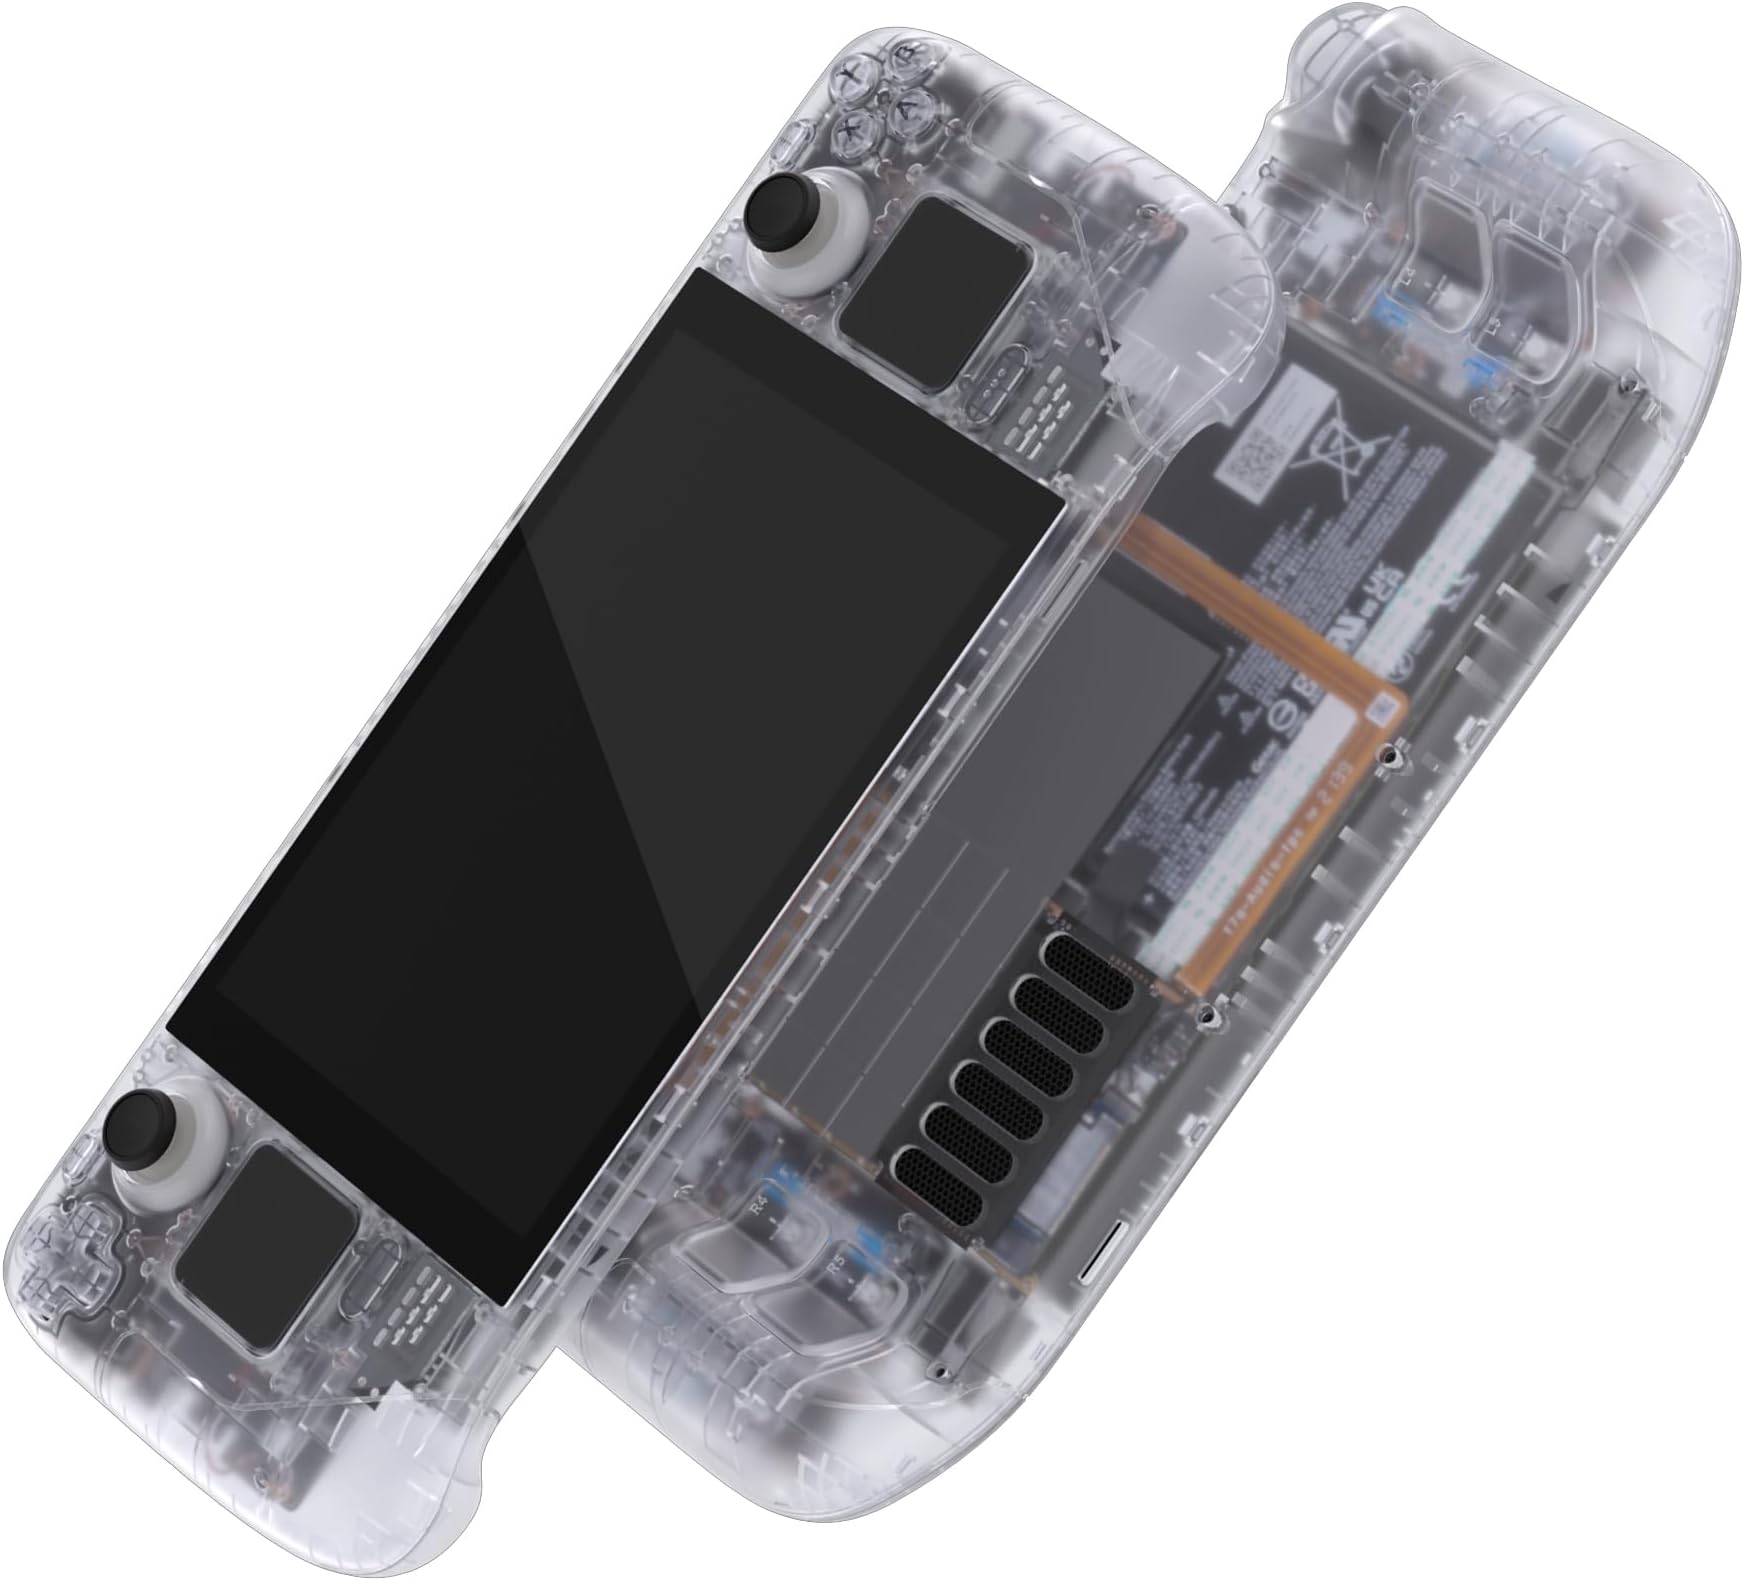
The eXtremeRate Transparent Clear Custom Faceplate Back Plate Shell is a premium ABS replacement housing designed exclusively for the Steam Deck LCD (2022). This full DIY kit includes all buttons, screwdrivers, and tools needed for a precise, gap-free fit, enabling gamers to personalize their handheld console with a durable, stylish clear shell. Installation requires advanced technical skills and is supported by a comprehensive YouTube video guide, making it the ultimate upgrade for enthusiasts seeking to elevate their Steam Deck’s look and feel.


| ASIN | B0C77ZPYHZ |
| Best Sellers Rank | 8,177 in PC & Video Games ( See Top 100 in PC & Video Games ) 46 in Steam Machines Accessories |
| Brand | eXtremeRate |
| Brand Name | eXtremeRate |
| Colour | Transparent |
| Country of Origin | China |
| Customer Reviews | 4.4 out of 5 stars 486 Reviews |
| Enclosure Material | Acrylonitrile Butadiene Styrene (ABS) |
| Finish type | Plastic |
| Hardware Platform | Steam Deck |
| Hardware platform | Steam Deck |
| Item Dimensions W x H | 20W x 10H millimetres |
| Item Weight | 10 Grams |
| Manufacturer | Extremerate |
| Manufacturer Part Number | QESDM001 |
| Material | Acrylonitrile Butadiene Styrene (ABS) |
| Model Number | QESDM001 |
| Product Finish Type | Plastic |
| Product dimensions | 20W x 10H millimetres |
S**M
10/10 swap, Easy? No. But worth it.
Nice replacement shell, comes with everything you need for only £35! All the screws, buttons, membranes for power and volume buttons, and they look great. This is no walk in the park though, if your considering this go and watch several videos before you even think about it, if your comfortable stripping down laptops you will most likely be fine with this. Installed at the same time as the decksight screen and that fits into this shell fine. i went for the metallic red buttons from extremerate as i wanted a bit of contrast to the transparent case, it turned out perfect.
B**E
10/10 isn't good enough for this shell
Honestly this is one of the best shells I've come across, let alone for the Steam Deck. It feels great, looks fantastic and fit together arguably better than the stock shell. Mine creaked when the shell was pressed below the screen and this one didn't, so clearly done something better than Valve to sort that out! I did keep the original buttons though as it looks quite cheap going with all purple - but that's just me. The kit had everything you need to swap and Extreme Rate have a YouTube video that was really well done and easy to follow, so I'd recommend watching that like I did. I can't fault it and whilst this isn't a reflection on the shell, it's definitely not for the feint of heart. You take everything apart, including the screen (which I'd never done before) so I wouldnt do it as your first ever shell swap. If you do though, watch their video, take it slow and keep track of which screws go where so you don't ruin any of the posts with the wrong screws. My tip: I used several egg pots and scrap paper to say what they were - worked well!
A**R
Solved my issue with the original backplate rubbing on the right trigger
Disclaimer, This review is from someone who has only used the backplate and back buttons! I have seen the full tutorial on YouTube and note that to do the full kit looks like a process, so check it out before buying it. My right trigger on my steam deck felt a bit funny when I pushed it all the way in, so I did a bit of research and found it’s a common thing for the triggers to rub. I saw an easy fix for this was to buy a backplate, so I got this kit for the backplate as I liked the look of the blue. I can confirm it has fixed my issue with the trigger rubbing. The only negative I have found with it is that when I put it all back together and tested, the L4 back button wasn’t pressing as well as the rest. I took it apart and had a look and after a bit of a head scratch found that the issue was a burr which was reducing the range of motion, took the burr off with a knife and it works perfectly now. This is the only reason for the 4 star as it caused me a temporary headache.
S**T
Patience is key!
After having a vinyl skin on my deck for a little while, I decided to take the plunge and buy the extremerate shell. I have zero experience with tear downs but I followed the tutorial on YouTube, pausing where necessary, which made the whole process a lot smoother. The screen removal was the most stubborn element to take out of the original shell but I would strongly advise purchasing the iOpener kit from iFixit. Stick it in the microwave for a minute and then place it on each side for about 5 minutes - I did this whilst watching a 30 minute show on Netflix to pass the time! Using the iFixit suction tool, I was able to prise the screen off without using the pics. Make sure to use isopropyl to safely remove the adhesive left behind. After the screen removal it’s pretty much plain sailing from there. I chose to keep the original buttons as a nice contrast to the translucent green; I will be putting some black extremerate back paddles on the rear too as I think that would look much slicker. The whole process probably took around 2.5 - 3 hours…if you like tinkering and enjoy projects that test your patience, the time will fly by as it did for me. I’m really pleased with the end result, it feels nice to hold and the quality is fantastic. The fit is absolutely perfect and for the price of the kit, the value for money is second to none. My main problem was actually choosing the shell colour! I would definitely recommend this if you have the patience for such things…I love a challenge so this was right up my street!
M**E
Tough to fit but very much worth it
Brilliant, the better half loves this. My only criticism is it's slightly harder to hold due to the slippery texture on the grips, especially if your hands sweat. Otherwise it's awesome. *Do not attempt this if you are not experienced disassembling and reassembling electronics. Even with the video guide, it's far harder and longer than you would assume*
M**I
Very good
Transformed my steam deck to the limited edition look - without the hefty price tag scalpers or re sellers are asking for. Good quality
K**M
Needs proper written instructions. Original Steam Deck Screws aren't compatible.
Quality of the case is superb and has an amazing soft touch feel (not that rubber stuff just smooth plastic). It's a little fragile when in parts so you need to be careful when assembling but when the decks fully assembled in it, it is very rigid and as good as the oem shell if not better. Major complaint is that it needs included instructions or at least tips. The included pamphlet only talks about the warranty. I say this because the first case I had was ruined because I used the OEM screws from the original Steam Deck shell (some of them are slightly longer than the Extremerate included screws) which cause the case to crack. Nowhere does it say you have to use the included screws and the online instruction video by Extremerate doesn't say it either. Im sure it might be obvious to some that if it comes with screws you should use them but I thought the OEM screws were better quality and the Extremerate screws weren't ordered, they were all bundled into one bag. My replacement clear shell also had some air bubbles trapped in the plastic which ruined the frosted effect.
D**Y
Amazing Results
Firstly, don't be put off having a go! I don't think it is hard as people say, as long as you give yourself time. Mine turned out fantastic, I am very happy. I recommend the following considerations before you buy 1. Get yourself your own toolkit. The suction cup is rubbish and the metal pick should not be used, use plastic instead. 2. Use a heat gun and keep moving, medium heat, for around 2 minutes. 3. Use isopropyl rubbing alcohol to get rid of remaining residue. Important to get rid of all glue!. My only complaint is the screws are confusing, should be labelled up. Really happy with results.
C**N
Chulísimo
Me encanta el color de la funda. Todo perfecto. Lo he recibido muy rápido.
J**S
4 hours work, Medium skill. Described below
My friend and I both bought shells, he got one with a hazy purple and I the gradient (see last photo). The hazy has a better texture but is harder to see the internals, while the gradient is very slippery and smooth plastic but can see though it better. They both look great on, I didn't consider the texture when buying but you might want to if you want to match your glossy or anti reflective screen. I didn't use any of the buttons that came with my kit and reused the originals as the kit buttons were very glossy black. The only ones I had to use from the kit were the underside ones (they aren't removable from the oiginal). To put them on, independently it took both of us 4 hours each. Maybe just a little under. Don't underestimate the complexity of these devices on the inside, I thought it might take an hour when starting but was very wrong. The kit comes with everything you need (except a hair dryer for heat) but you would do better with your own electronics dissasembly kit. It's probably not suitable for absolute beginners but if you have ever pulled a laptop apart you can probably do this. There are video instructions for every step if you need them so it's pretty hard to go wrong until you start doing the anxious stuff like pulling off the screen (be super careful and use a lot of heat).
K**P
Amazing product, worth all the effort
Absolutely fantastic, the pictures make it look much darker than it is, but the quality is unquestionably fantastic. However, and, this is a fault on my end so im leaving this as 5 stars. You need a heat gun to do a full shell replacement. It was my fault for not researching. And the tutorial for the full swap was absolutely fantastic, step by step, screw by screw. In terms of recommendations, I would say, the devs did great, my only gripe is something I'm pretty sure is an issue with valve, not this product. I really wish i could have replaced all the glued bits inside, instead of reusing them. But from personal experience with valve, there are some things they won't distribute, and im sure those glued bits are examples of that. (Seriously, id love to replace my trackpads, but they don't sell replacements, and im not using ebay) To any potential buyers. This is honestly worth it, if youve got the ability to follow step by step instructions, and, a steady hand. Do it, full send. If you're gonna do this mod, i recommend also getting the hall effect joysticks and the clicky kit, As well as some buttons, just to really make all the work worth it. To do this swap, you gotta completely dismantle your steamdeck, may as well upgrade it while your there. Ive even seen some people doing hard drive swaps and honestly, if i had known i was gonna be in the ball park, i probably would have swapped that too lol. Either way, it took me about 2 hours (the tutorial is something like an hour long but im not skilled so i had to pause frequently) But that just goes to show how awesome this kit is, im not skilled and i could install it. Perfect score, well done devs. ❤️
A**N
If you’re on the fence - hop off it and customize your deck!
So I’ll start off by saying I’m your average person. Very little-to-no IT background (I didn’t really know what a Daughter Board was until the final day I re-assembled this. So, for those reading the reviews saying that you need to be an expert at tech, I say nay… What you do need is patience, nimble fingers, attention to detail (or a bottle of Adderall), and you need to watch the video they provide in its entirety. This build was terrifying (I have dabbled in PC building and modded my Xbox controller a few years ago (which was also stressful, but took up less time than the Steam Deck). There is a lot of screws, and a lot of ways you can screw up. Be gentle, take your time and a hair dryer/heat gun is your friend. I found things were much more durable, but I did handle them as though they were insanely fragile and nothing broke, or ended up wrecked as a result. The case is gorgeous imo, I opted to purchase the chameleon keys from eXtremerate as well - and they do not disappoint. One thing I will say, though the case does not feel cheap, I am still getting used to the very smooth feel it has. Compared to the textured plastic/grit of the original stock case. I love the tactile feel of the “grit” so I opted to keep the stock track pads. One negative, I also opted to keep the “steam” button original, to help tie in the track pads, but also because I wanted to have the logo on the button (the buttons they provide are blank - likely due to copyright). The buttons, otherwise, are very nice and function the same as the original ones. All in all, I think it’s a fantastic way to personalize your steam deck for relatively cheap (especially on prime days/Boxing Day/etc). Solid case, excellent disassemble & assembly video, and just the overall experience is a rush & very satisfying to go through everything methodically. This build was also great for learning how everything is interconnected & being able to go through and take it apart has given me an appreciation for how relatively straight-forwards and customizable Valve has made the steam deck. eXtremerate has once again exceeded my expectations and has turned out an exceptional product. 9/10 stars (less one because of the lack of grit/tactile thing that I’m getting used to) but technically it is 10/10 stars. Coles notes & things to keep in mind: - use heat for the lcd screen, they read feedback and are now including extra plastic guitar picks to help with screen removal - remember there are two ribbon cable connections for the motherboard (the one controls power to your controls & touchpads - ask me how I know haha). It’s very sneaky and takes some finesse to reconnect. - this will probably take you about 3-4hrs (possibly more if you mess anything up and have to trouble shoot). - focus on it. Do your best not to get distracted or impatient. It is worth the wait. - trust the process. If a non-knowledgeable person can do it, you can too! Just be careful and attentive.
J**J
Sehr gute Qualität! Nichts für schwache Nerven.
Die Qualität der Plastikteile ist wirklich gut, alles passt perfekt zusammen. Der Hersteller hat auf der Webseite eine sehr gute Videoanleitung verlinkt, mit der alle Schritte erklärt sind. Das Ergebnis sieht wahnsinnig gut aus und erfüllt alle Erwartungen meiner 2000er-Nostalgie :) Der Umbau ist jedoch nichts für schwache Nerven - ich schraube viel, entwerfe selbst Platinen usw. Man darf sich auf ca. 4 Stunden Schrauberei einstellen. Das Steam Deck ist eine wirklich komplexe Konsole (hut ab an die Produktdesigner von Valve!) und man muss verdammt viele kleine Teile ausbauen - man zerlegt die Konsole hier 100% in die Einzelteile, da bleibt nichts mehr beisammen. Meine Empfehlung: Man sollte neben den gelieferten Materialien noch einen einstellbaren Föhn oder besser eine Heißluft-Lötstation mit Temperaturregelung haben, um das Display und ein paar weitere verklebte Komponenten zu entfernen. Zudem ist etwas Reinigungsalkohol (IPA o.ä.) für die Klebereste am Display hilfreich. Eine Handvoll Gitarrenplektren machen das entfernen vom Display auch nochmal einfacher als nur das einzelne mitgelieferte Metallblättchen. Unbedingt beachten: Ihr entfernt den Kühler vom SoC des Steam Deck. Ihr solltet auch ein wenig neue Wärmeleitpaste haben um diese neu aufzutragen. Meine war schon arg zerbröselt und konnte nicht wiederverwendet werden, habe aber mein Steam Deck auch schon seit Launch. Mit sehr neuen Steam Decks ist die WLP evtl. noch flüssig genug um neu verwendet zu werden. Ich bin sehr zufrieden. :)
Trustpilot
2 weeks ago
4 days ago