Description
🚪 Seal the deal on a cleaner, safer garage—because your space deserves the best!
- ENERGY SMART SEAL - Prevents drafts and heat loss, helping reduce your energy bills while protecting your space.
- SAFETY FIRST DESIGN - Bright yellow strip and anti-slip ridges ensure visibility and prevent slips.
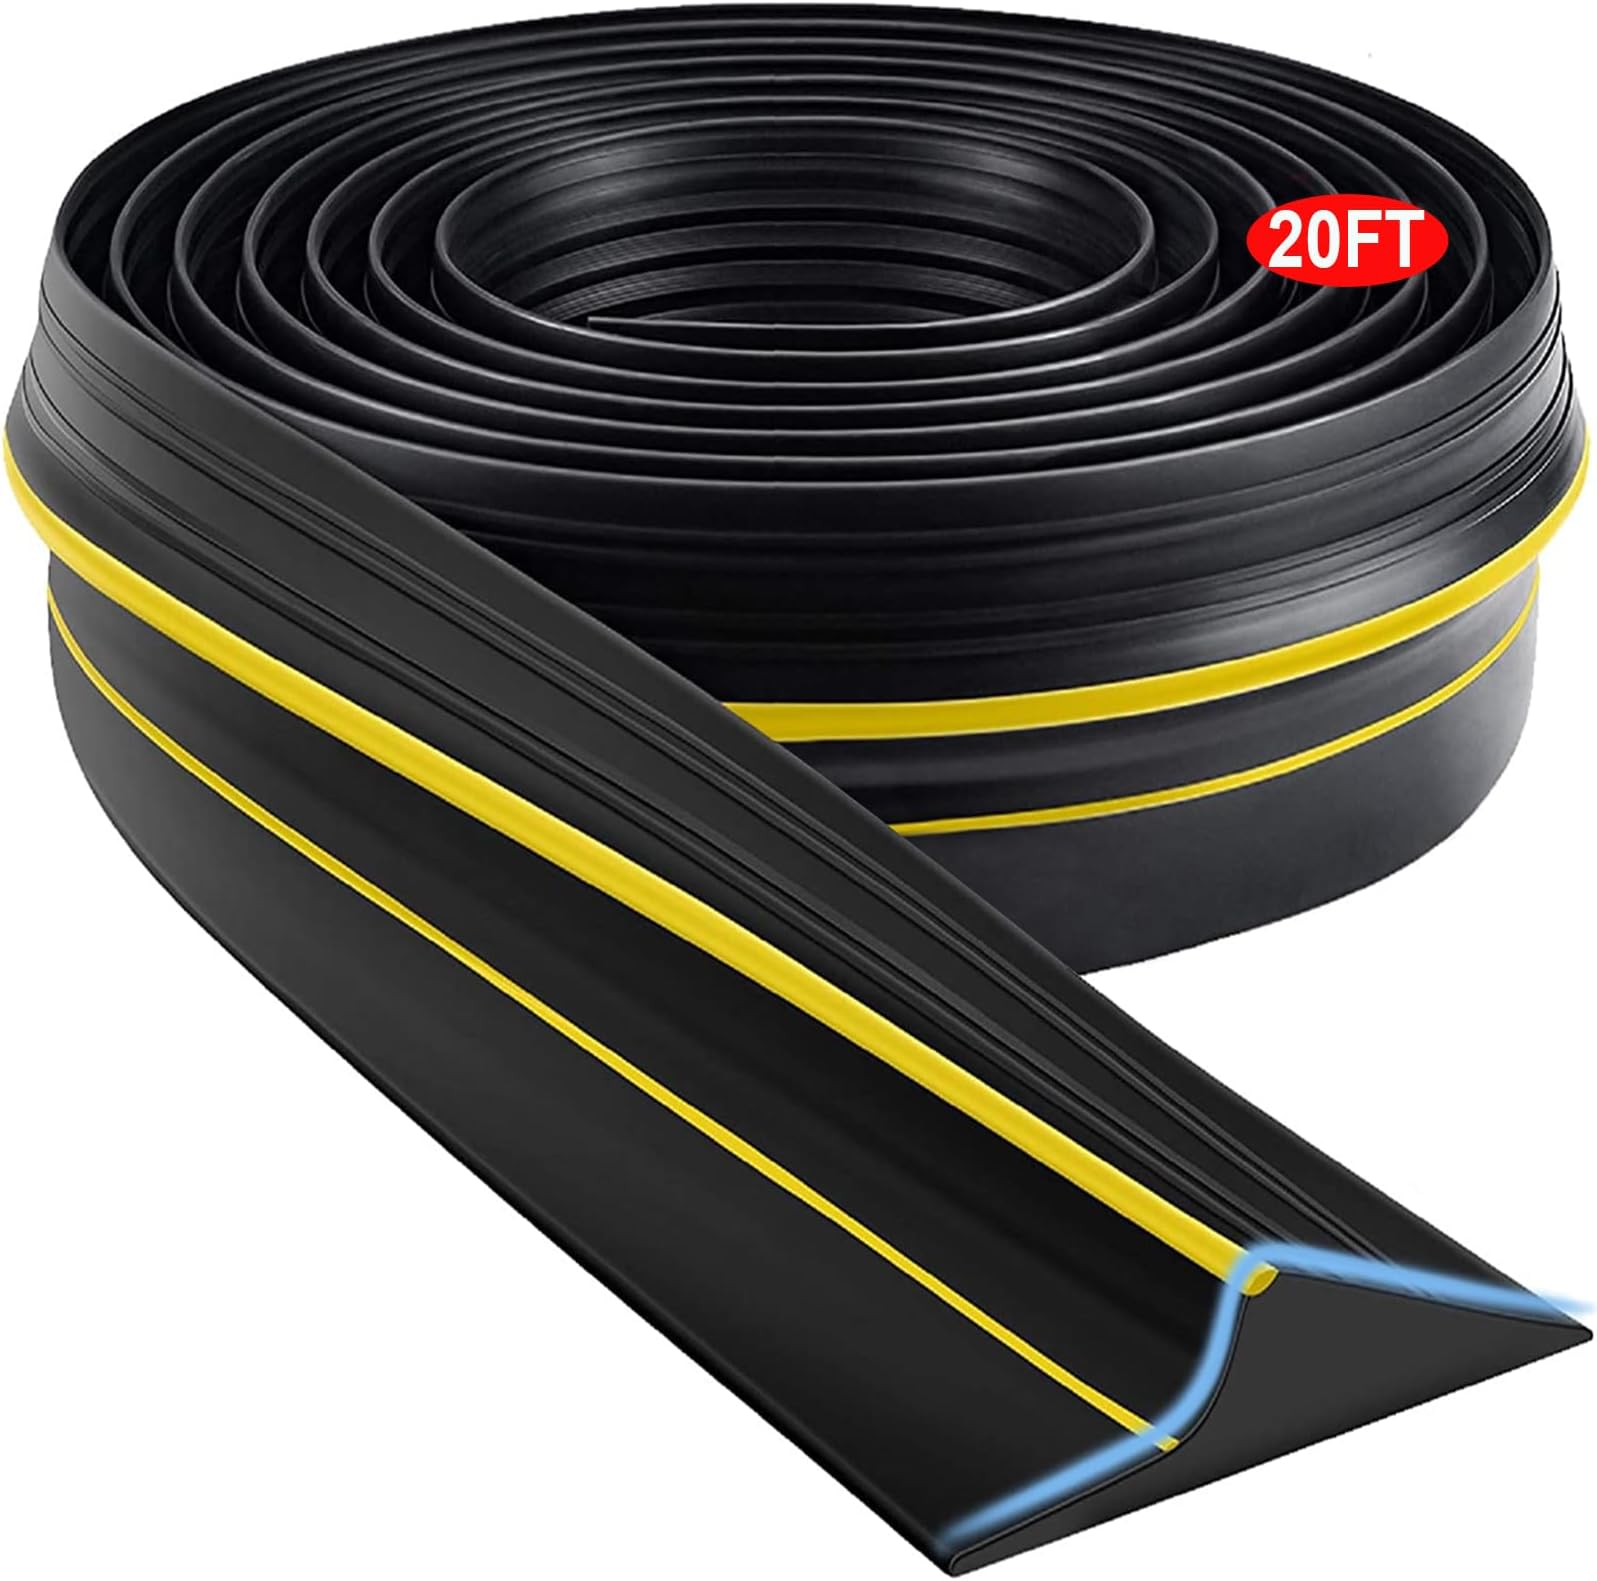
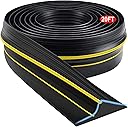
- EFFORTLESS DIY UPGRADE - Cut-to-fit 20 ft length makes installation quick and customizable for any garage.
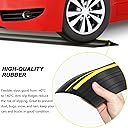
- BUILT TO BRAVE EXTREMES - Rubber seal stays flexible and crack-free from freezing cold to scorching heat.
- ULTIMATE WEATHER DEFENSE - Blocks water, wind, snow & dust to keep your garage pristine.
This 20-foot universal garage door threshold seal strip is crafted from durable rubber designed to withstand extreme temperatures from -40℉ to 284℉. Featuring a bright yellow safety strip and anti-slip ridges, it ensures both visibility and secure footing. Easy to install and customizable by cutting, it effectively blocks water, wind, snow, dust, and debris from entering your garage, improving cleanliness, energy efficiency, and overall protection.